How to Create and Decorate a Pumpkin-Shaped Cake from Scratch
When autumn arrives, pumpkins are everywhere—from front porches to party tables. Why not bring that festive spirit to your dessert table with a pumpkin-shaped cake? Keep reading for a complete guide on how to bake and decorate a pumpkin cake, along with recipes for both the cake and frosting.
Essential Ingredients and Tools:
Note: This pumpkin cake is made by stacking two Bundt cakes. Begin by preparing the first Bundt cake, bake it, flip it onto a cooling rack, then clean and dry the Bundt pan. Repeat the process to bake the second cake before assembling the layers.
How to Bake the Cake
Try this Pumpkin Cake recipe for a light, fluffy texture balanced with the perfect blend of sweetness and spice. The cream cheese frosting, which is easy to prepare while the cake cools, complements the cake beautifully. Follow the steps for mixing and baking the batter, but make sure to check out the helpful tips below:
Selecting the Right Cake Pan
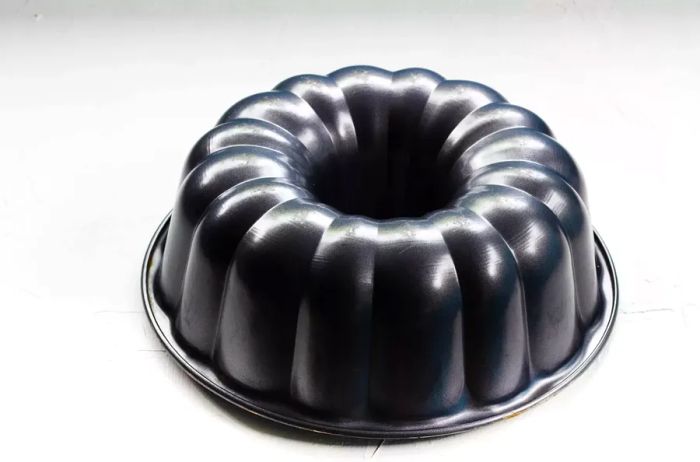
Tips to Prevent Your Cake From Sticking to the Pan

There’s nothing more frustrating than spending an hour baking your cake batter, only to have it stick to the pan when it’s time to flip it onto the cooling rack. Bundt pans are especially tricky, but I’ve got the solution. To ensure a smooth release, you'll need two things: baking spray with flour and ground flaxseed meal.
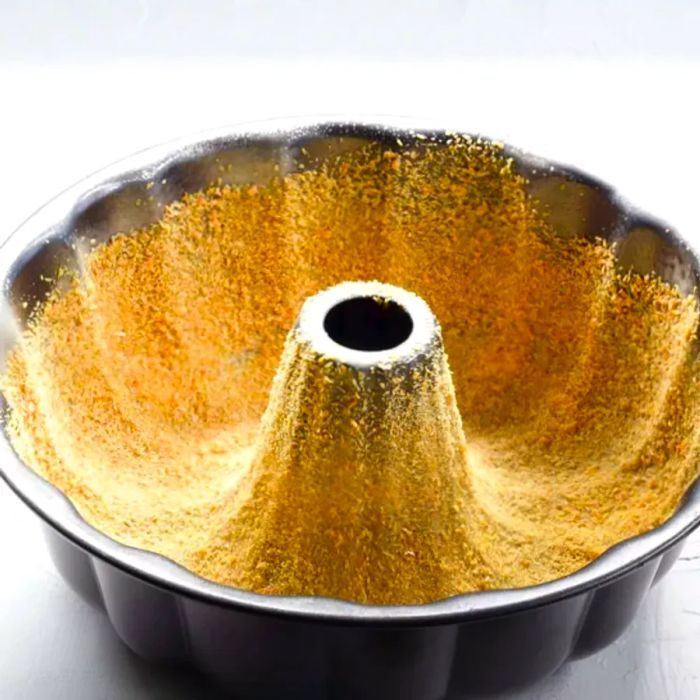
- Wait to prepare your Bundt pan until just before your cake is ready to go into the oven. Preheat the oven, mix your cake batter, and then prepare the pan.
- Spray the pan generously with baking spray, making sure to cover every corner—don’t skimp on the amount.
- Dust the pan with flaxseed meal. Use a good amount, as shown in the image above. Add the meal in small increments, tilting the pan to ensure it’s completely coated. Be thorough, or you might end up with a pumpkin cake that looks a little lumpy!
- Immediately pour your batter into the pan and place it in the preheated oven.
Cooling and Inverting Your Cake
After baking your cake, let it cool in the Bundt pan for at least 5 minutes. (But don’t leave it for too long—if it cools too much, it may stick to the pan.)
Next, place a cooling rack on top of the Bundt pan and carefully flip it over. If you’ve applied enough spray and flaxseed meal, it should release effortlessly. If not, here are some tips for freeing a stuck Bundt cake.
Trimming Your Cakes
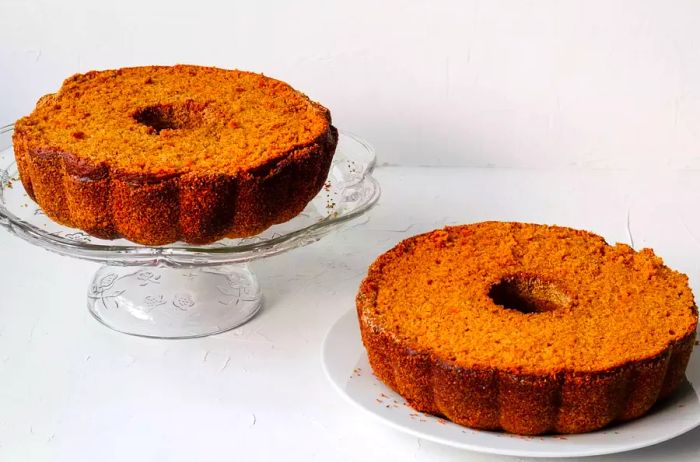
To achieve a smooth, seamless pumpkin shape when stacking the top and bottom layers, you’ll need to trim the flat sides of each cake. Place the cake flat-side up, as shown above, and carefully trim the bottom using a serrated knife until it’s completely level. You can either discard the trimmed top or save it for making cake pops!
Assembling Your Cakes
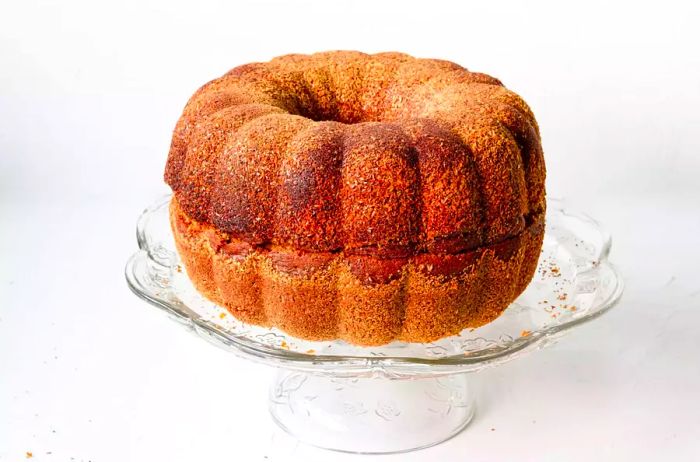
Now that both cakes are baked, cooled, and trimmed, it’s time to assemble them. Start by placing the bottom layer with the flat side facing up, and then place the top layer with the flat side down. The flat sides will align, forming a perfect round pumpkin shape. Be sure to line up the fluted edges so the top and bottom match perfectly.
Tip: You can spread frosting between the layers, but make sure it stays in the center of the cake. No one wants to see frosting spilling out the sides—avoid a leaky pumpkin!
Decorating Your Pumpkin Cake
Cream Cheese Frosting
You will need:
- 1 8-ounce block cream cheese, softened
- ¼ cup butter
- 1 teaspoon vanilla extract
- 1 tablespoon milk
- 3 cups confectioners sugar
- One box of gel food coloring containing green, red, and yellow (or orange if you can find it) You'll add in the coloring to your liking
Instructions:
- In a stand mixer blend your butter and cream cheese. Next, add your milk and vanilla and whip until combined. Then slowly add your confectioners sugar until well combined.
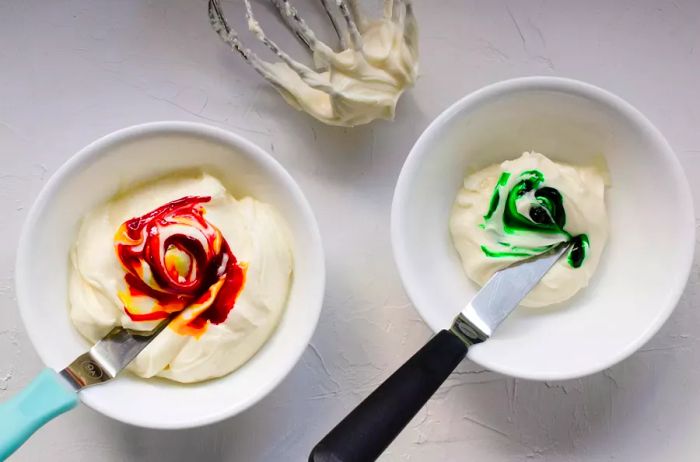
- Divide your frosting into 2 small bowls. You'll want about a third of it to be dyed green and the rest to be dyed orange. If your food coloring box only has primary colors, you'll want to mix them to get the green (yellow +blue) and orange (yellow + red) colors you need. Have fun with it!
Tip: Be patient when adding food coloring. This process may take some time to get it just right. Add the color gradually—it's easy to add more, but once it's too dark, you can't remove it.
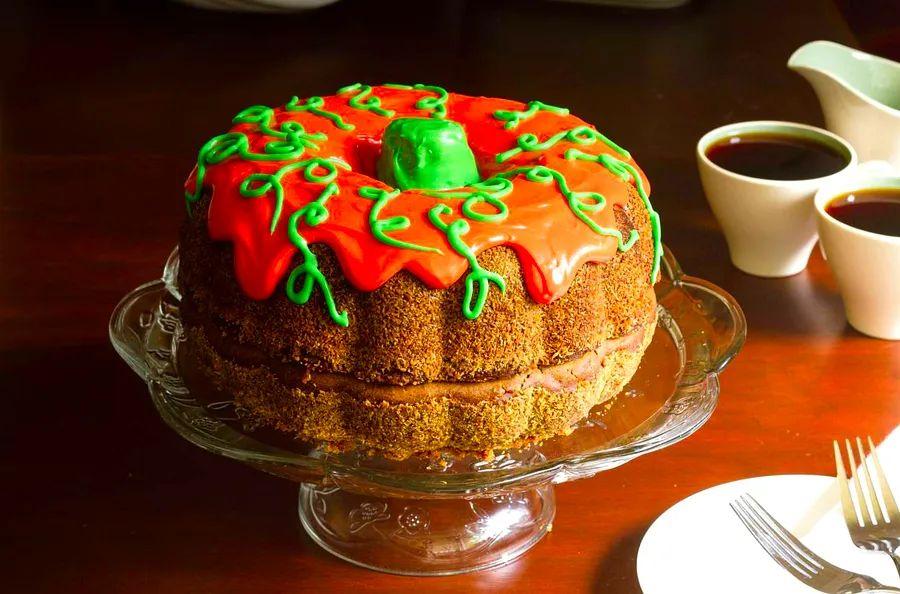
With your cakes stacked and frosting ready, it's time to start decorating.
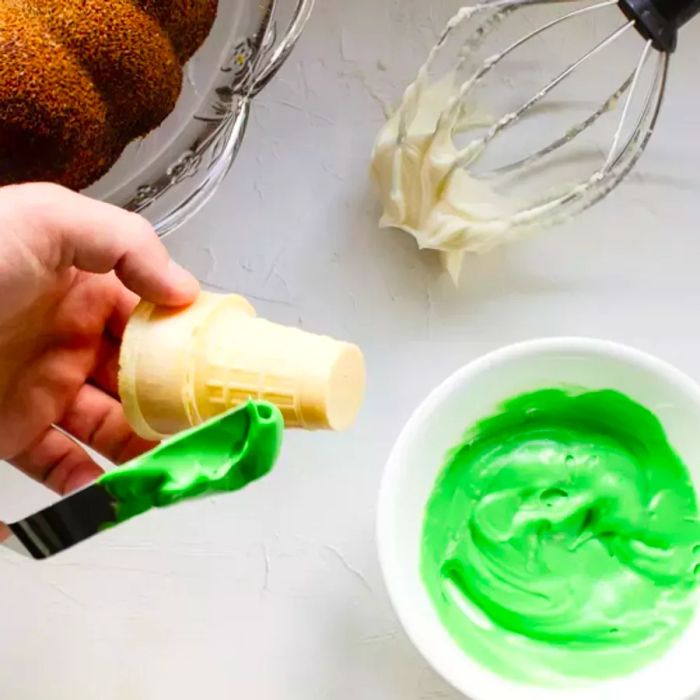
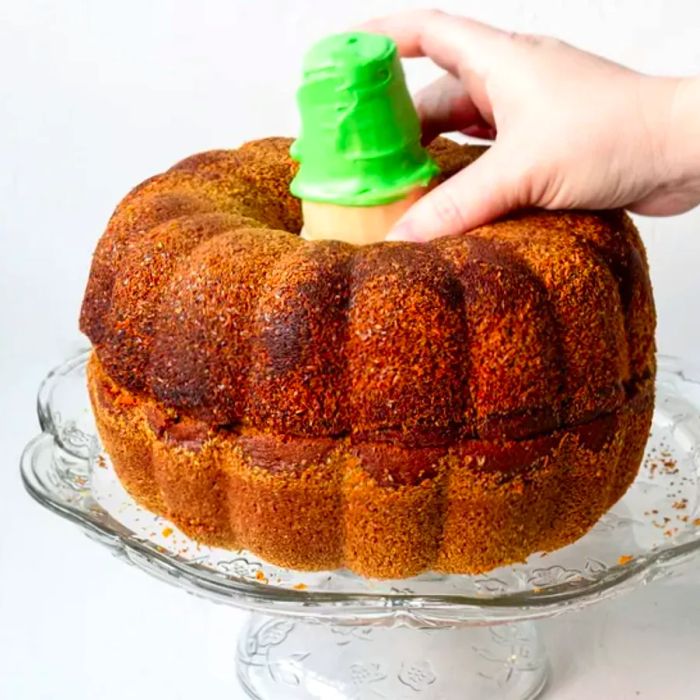
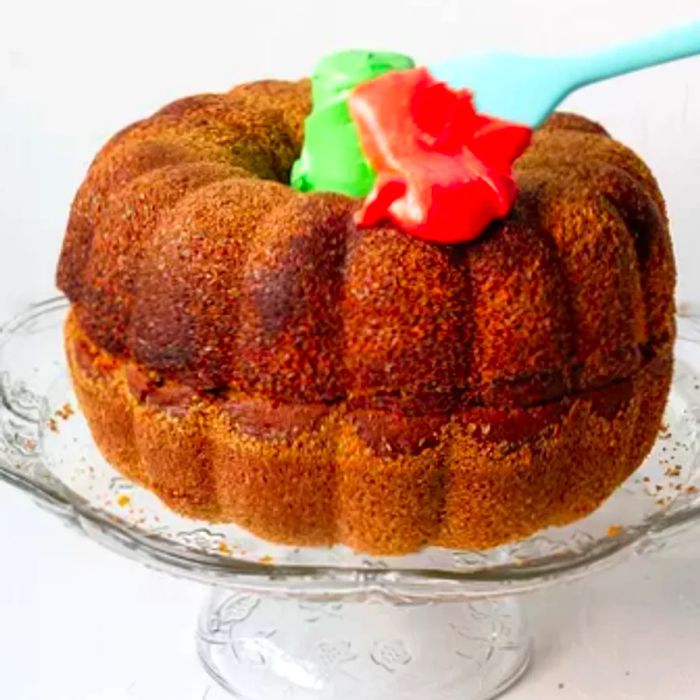
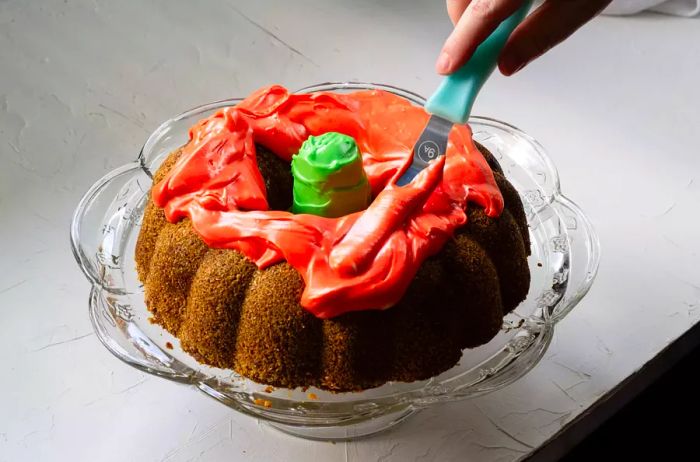
- First, you'll want to cover your ice cream cone with green frosting. Next, you'll gently place it in the center hole of the cake to form a pumpkin stem.
- Then with a small spatula you'll add dollops of the orange frosting all around the top of the cake. You'll gently encourage some of the icing to drip down the sides, creating a cascade effect. Be patient with the frosting. If you give it a few seconds you'll notice it drips down the sides with very little effort from your spatula.
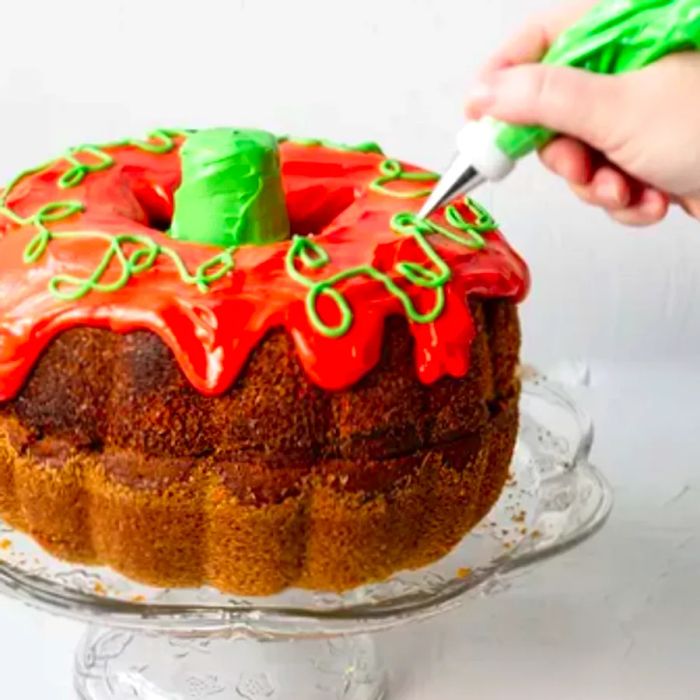
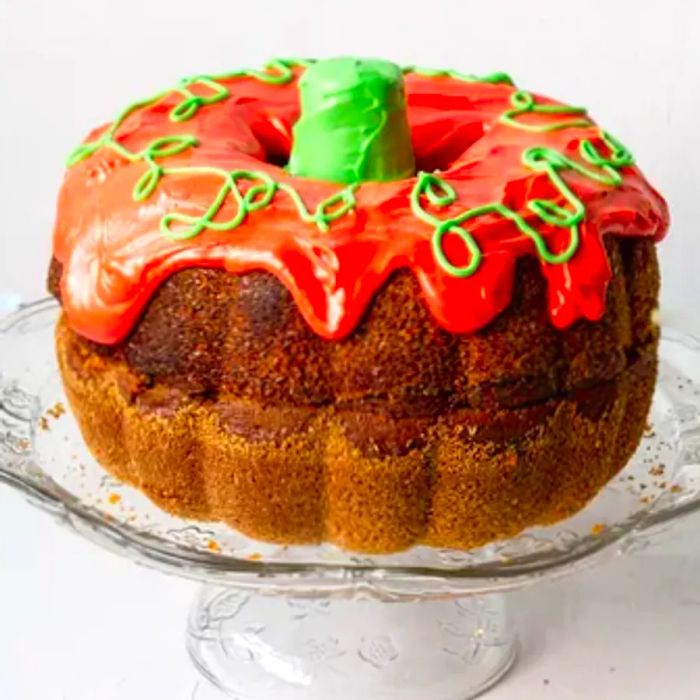
- Bonus vines: Take the remainder of your green frosting and add it to a piping bag with a small round tip. Carefully pipe some pumpkin vines from the center outward all around the cake.
Holiday Variations
For a Halloween twist, add candy corn or Reese’s Pieces into the center of the cake before topping with the frosted ice cream cone. When you cut into the cake, the candy will spill out like a pumpkin piñata. You can also use black frosting to create a jack-o'-lantern face on the cake.
For a Thanksgiving version, use more muted frosting colors and pipe on some leaf decorations. The possibilities for customization are endless!
Miniature Version
For a quicker, more compact version ideal for smaller gatherings, make a single layer of pumpkin cake and invert it onto a plate or cake stand.
Storing Your Pumpkin Cake


Evaluation :
5/5