How to Make Your Own Piping Bag Using Parchment Paper

You don't need professional tools to pipe beautiful designs for holiday cookies or add personalized messages to cakes. Just a simple homemade parchment paper piping bag, folded into a cone shape (or "cornet" if you want to sound like a pastry expert).
Top 3 reasons to craft your own parchment paper piping bag:
- It's budget-friendly! Imagine how many piping bags you can create from just one affordable roll of parchment paper.
- It's convenient! Simply discard it when you're finished. No need to clean reusable bags or feel guilty about wasting plastic ones.
- Instant bragging rights! How awesome is it to say you made a "cornet" like you’re a pro from culinary school?
Homemade Piping Bag
It might take a few tries to master making these cones, but once you get the technique down, it's easy. Take your time, enjoy the process, and have fun learning! Ready to begin? Here's a simple step-by-step guide for crafting your own DIY piping bag.
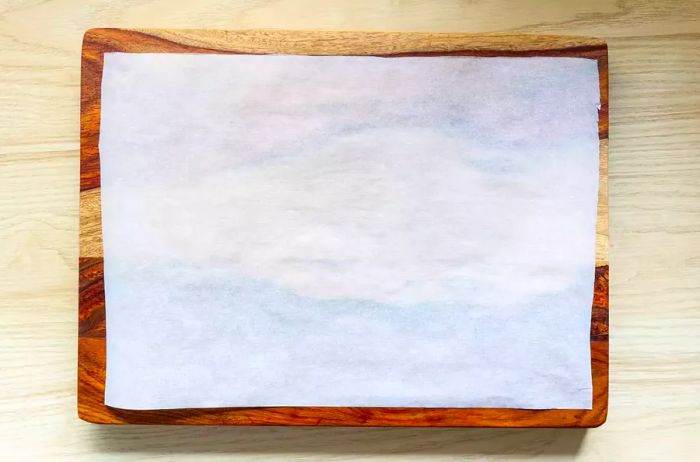
- Start by tearing off a rectangular piece of parchment paper, as shown below. (Alternatively, fold a full sheet and cut it in half to create your rectangle.)
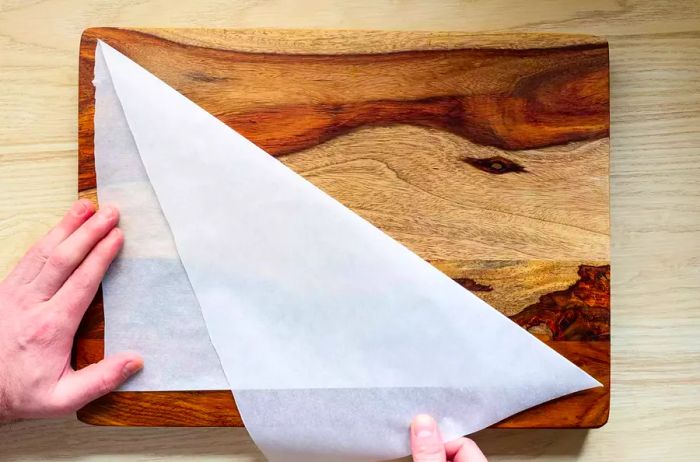
2. Fold the rectangle diagonally. You’ll notice the triangles won’t align perfectly, which is exactly what you want. That means you’re doing it correctly. Use your fingernail or the back of a knife to press a firm crease along the fold.
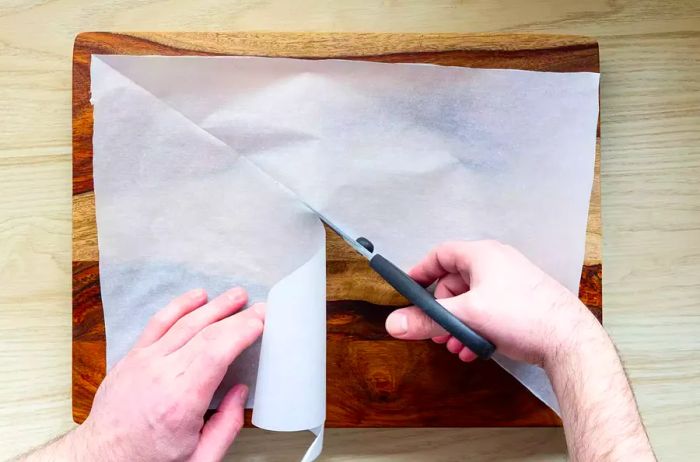
3. Use scissors or a knife to cut along the crease. This will create two right-angled triangles, perfect for making two parchment cones. Set one triangle aside for later use.
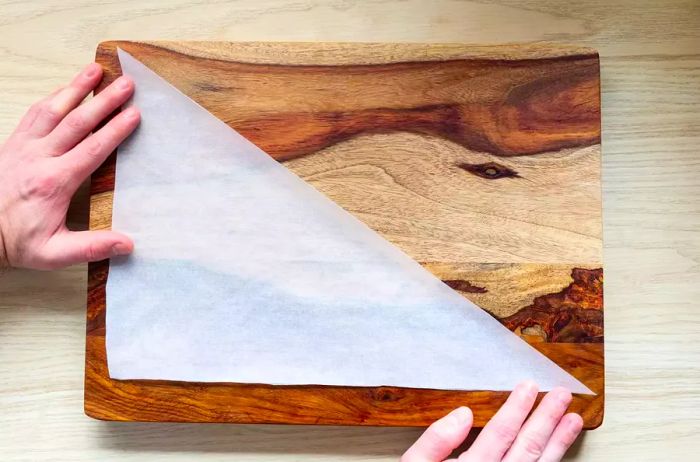
4. Each triangle will have three sides of different lengths. Place the triangle with the right angle on the left, as shown below. The short side will be on the left, the longest side will be on top, and the medium side will be at the bottom. (We’ll guide you through the steps for each side: short, medium, and long.)
5. Fold the top left corner down to meet the bottom left corner, tucking the edge underneath to form a cylindrical shape, as illustrated below.
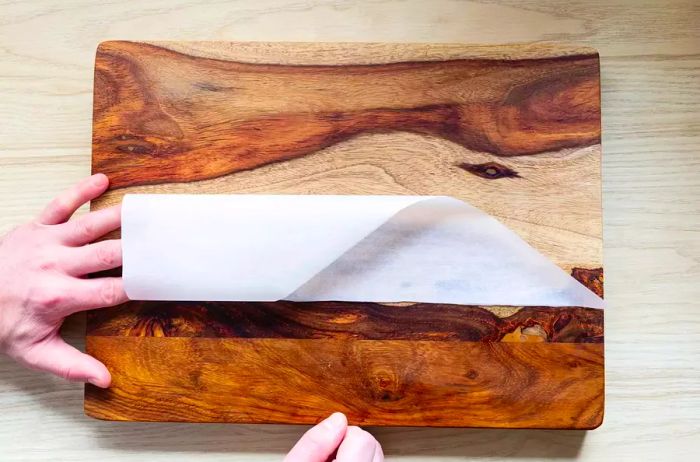
6. Take hold of the tip of the long tail on the right, and wrap it around the cone to shape it, as shown below.
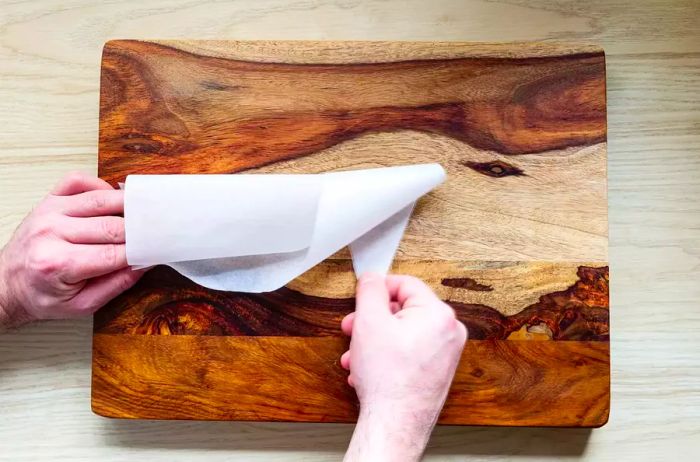
7. After you've wrapped the long tail around once, pull it away from the cone's tip, as shown below. Although it might seem more intuitive to keep wrapping it around, doing so won’t give you the desired cone shape.
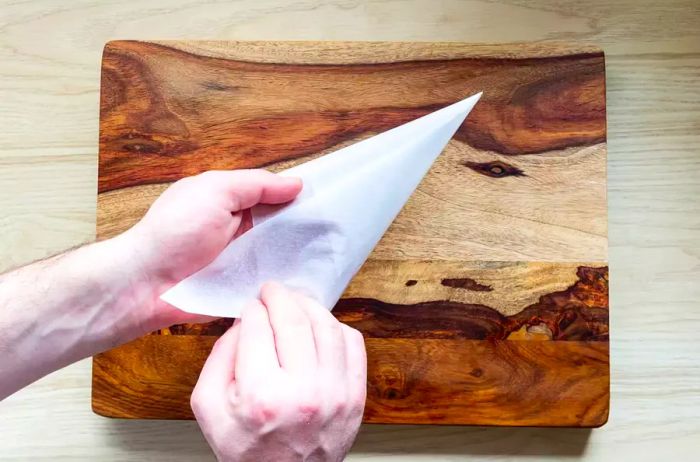
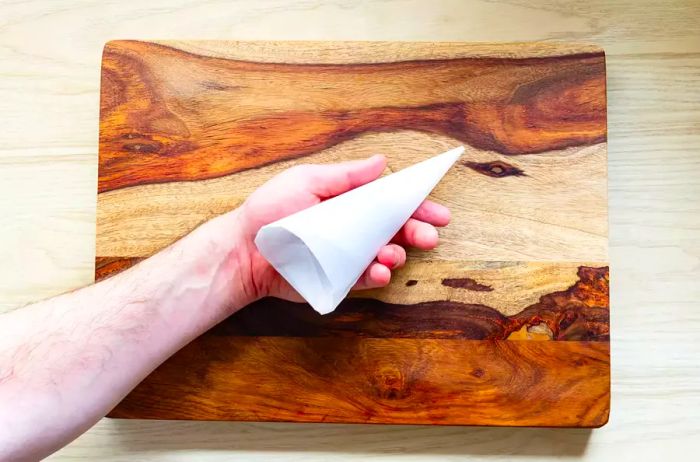
8. Keep pulling the long tail until the tip of the cone is sized just right for your piping needs. The more you pull, the smaller the hole will be, allowing for more detailed piping work.
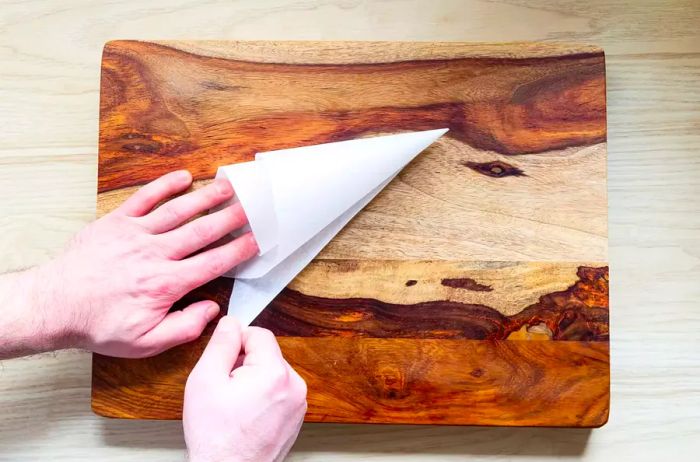
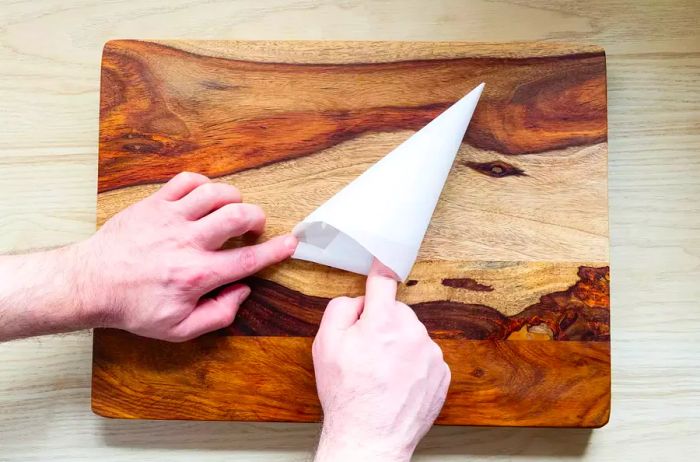
9. Once the tip is the perfect size, take the long end of the paper and fold it into the wide opening of the cone to secure it, as shown below.

10. Use your fingernail to press and crease the edge of the cone to create a crisp, defined rim.
11. Make one final narrow fold to secure the long end of the cone, ensuring you have a sturdy pastry bag, as shown below.
How to Use Your DIY Piping Bag
- Gently spoon frosting or icing into your cone, being sure not to fill it more than halfway or it will squeeze out of the top of the bag and make a huge mess.
- Once you've filled the cone halfway, hold the seam side away from you and fold down the top part of the bag towards you. Fold in the left and right corners, and then fold the top over again before you begin. This keeps the bag tight, so it won't unravel, and gives you better control as you pipe.
- Keep folding the top down as you work (think of a tube of toothpaste). And like a tube of toothpaste, you should squeeze from the top, not from the middle.
- You can make your pastry bag tip opening as large or small as you need. So to decorate a whole cake, you may choose to make several of these parchment pastry bags, each with a different size tip for different elements of the decorations. Use a sharp paring knife or scissors to snip off the point of the cone.
- If you're using different colors of frosting or icing, have the bags all filled and ready to go before you start decorating.
Start decorating! Before diving into a cake or other finished project, practice piping a few swirls or letters on a plate or extra parchment paper to get the hang of it.


1

2

3

4

5
Evaluation :
5/5