How to Carve a Turkey Like a Pro
So, you've brined, roasted, grilled, smoked, deep-fried, or spatchcocked your turkey—well done! Now it's time for the carving. For some, this part is the most daunting, but don't worry! Follow these easy steps, and carving your Thanksgiving turkey will be a breeze.
What You'll Need to Carve a Turkey
- A sharp carving knife or chef's knife
- A meat fork
- A cutting board (There are cutting boards designed for carving meat that feature juice grooves so all those juices don't end up on your countertop.)
Before You Begin Carving
Let the turkey rest after removing it from the oven for 20 to 30 minutes (depending on its size), covering it loosely with foil. This resting period helps the proteins relax and lets the juices redistribute, resulting in tender, flavorful slices.
While the turkey rests, pour the pan juices into a glass measuring cup or small saucepan. Let the liquid sit for about 10 minutes, allowing the fat to rise to the top so it can be easily skimmed off. Add some water or chicken stock to the roasting pan and return it to the oven or heat it on the stove. Scrape up any browned bits from the bottom of the pan, then combine this liquid with the reserved juices to make a delicious gravy.
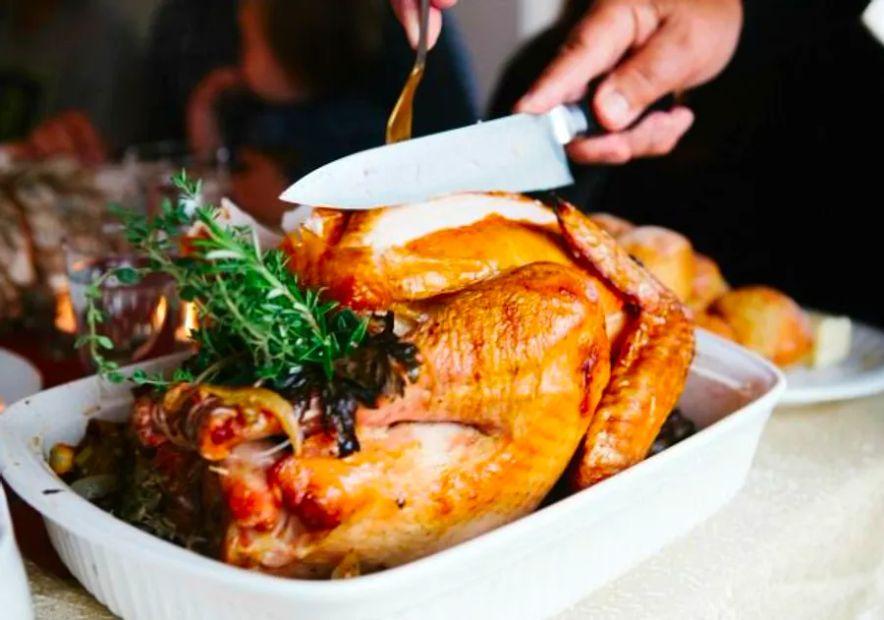
How to Carve a Turkey: A Step-by-Step Guide
To take the pressure off carving, consider doing it in the privacy of your kitchen—this helps avoid “helpful” comments from others. Start by warming a large platter to hold the carved turkey. Place the turkey breast-side up on a cutting board, and secure it with a carving fork to steady it.
Step 1: Remove the Legs
Working with one side of the turkey at a time, locate the joint where the leg attaches to the breast. Use a large, sharp knife to help press the thigh outward, exposing the hip joint. Cut through the joint to detach the leg, then repeat with the other leg.
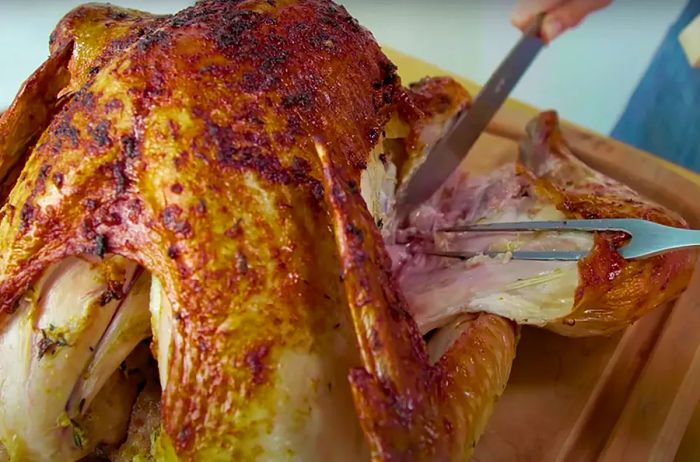
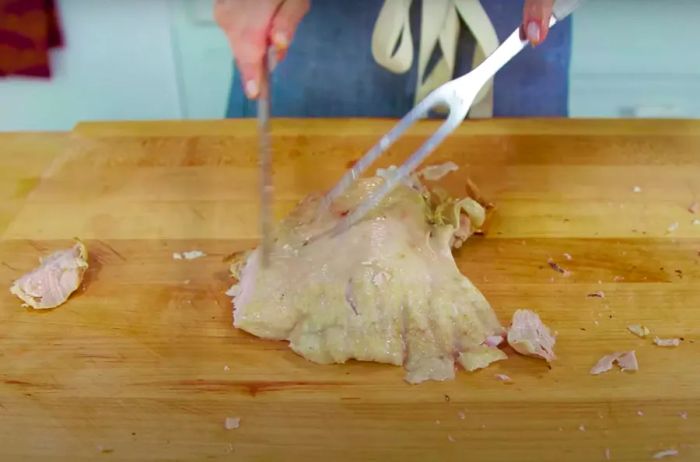
Step 2: Remove the Breast Meat
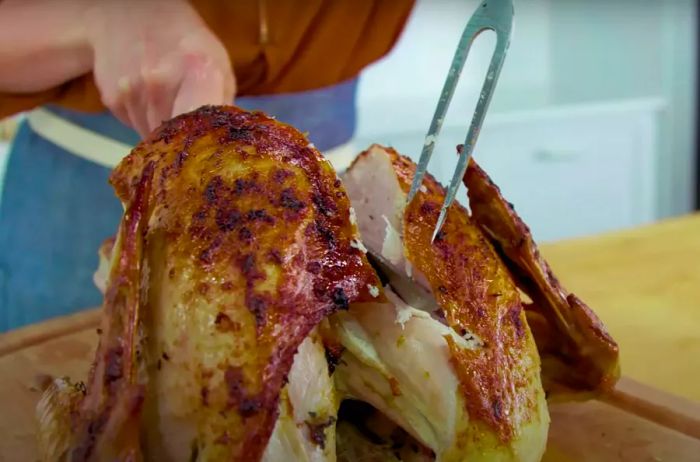
Locate the breastbone running down the center of the turkey and slice along one side of it. Angle your knife and continue cutting along the ribcage to separate the breast meat. Repeat this on the other side of the bird.
Step 3: Remove the Wings
Find the joint where the wing connects to the breast and cut through it to detach the wing. Repeat on the other side of the turkey.
Once the meat is separated from the turkey, begin slicing it into smaller, more manageable pieces for serving.
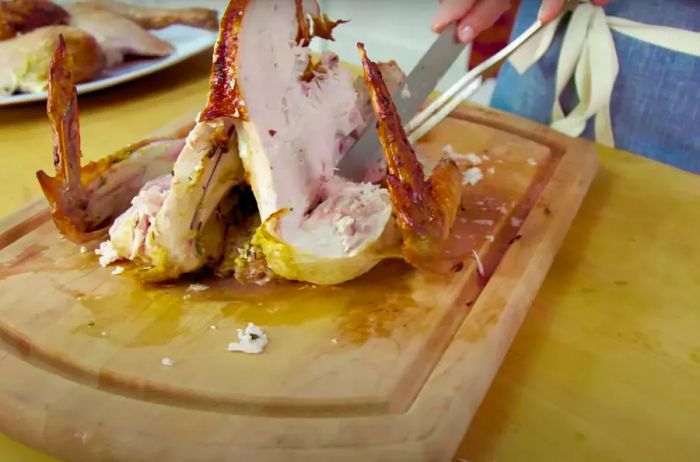
Step 4: Slice the Turkey Breasts
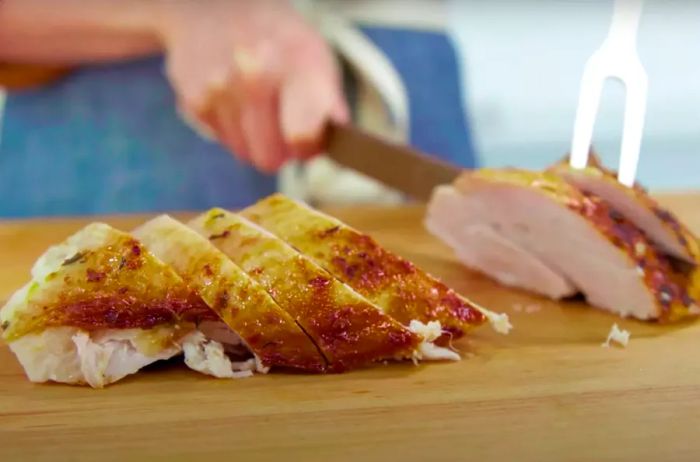
Cut against the grain to create slices, whether thick or thin, based on your preference.
Step 5: Separate the Drumstick from the Thigh and Slice
To separate the drumstick from the thigh, locate the joint and cut through it. Set the drumstick aside and proceed to slice the meat from the thighs.
Step 6: Arrange the Carved Meat on a Serving Platter
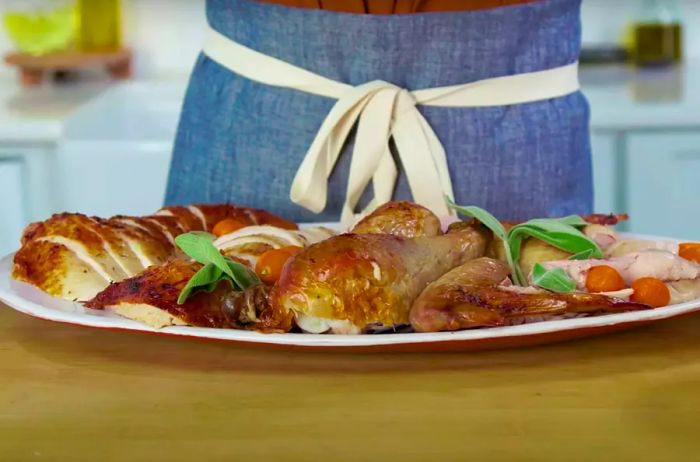
Place the carved meat on the warmed platter as you slice to avoid overcrowding your cutting board. You can garnish the turkey with kumquats and fresh sage for an extra touch of flavor. Serve immediately or keep in a warm oven until ready to serve.
If the presentation isn’t perfect, don’t worry. It’ll soon be covered in gravy and later transformed into delicious turkey leftover recipes.

1

2

3

4

5
Evaluation :
5/5