How to Make Simple Fruit Crisps
A fruit crisp is a must-have recipe in your cooking repertoire. It's one of the simplest and most versatile ways to turn any fruit into a delicious dessert. Whether you're using perfectly ripe fruit, slightly overripe ones, or even fruit that's not as sweet as you'd like, a fruit crisp works wonders. It highlights the best of in-season produce and can transform lesser-quality fruit into a treat. Read on to discover how to make fruit crisps all year round. Before we get started, though, let's clarify the difference between a fruit crisp, a cobbler, and a crumble.
What Is a Fruit Crisp?
While crisps, cobblers, and crumbles are often confused, they each have distinct characteristics. All are baked fruit desserts with a topping, but the key difference lies in that topping. Cobblers typically have a biscuit or batter topping, crumbles are made with a flour, sugar, and butter mixture crumbled over the fruit, and crisps have a crunchy topping that includes oats.
How to Make Simple Fruit Crisps
For me, the beauty of a fruit crisp lies in its flexibility—it's more about ratios and technique than a strict recipe. This means I can quickly make a single-serving crisp with a handful of leftover berries or a bruised peach for a quick snack, or bake a large dish to serve a crowd. You can adjust the sugar levels to your taste, making it as light or indulgent as you like. And it's delicious straight from the oven, at room temperature, or even chilled—making it an ideal dish for any potluck.
As I guide you through making a fruit crisp, I'll also share a handy make-ahead tip that lets you prepare a crisp of any size in no time.
1. Prepare the topping.
The most time-consuming part of making a fruit crisp is preparing the topping, so I save time by making a large batch in advance. This way, I can easily whip up a crisp at the last minute. (That's my time-saving tip!) During the summer, I make plenty of topping and store it in a zip-top bag in the freezer. Of course, you can always make it fresh each time—it only takes a few extra minutes.
Topping formula: The basic ratio for a fruit crisp topping is 3:2:1:1—3 parts rolled oats, 2 parts flour, 1 part sugar, and 1 part fat.
Since I usually make big batches of topping, I typically use three cups of oats, two cups of flour, one cup of sugar, and one cup of liquid fat. I mix it all together in a bowl, then spread it in a single layer on a parchment-lined baking sheet and freeze it for about an hour. After that, I scoop the crumbly frozen mix into a zip-top bag for easy storage. Tip: If you skip the pre-freezing step, the mixture may clump together when frozen, making it harder to use.
- Oats: The rolled oats are key: They provide the crunch and nuttiness that makes a crisp different from a crumble. Combined with the flour, sugar, and fat, they bring in that streusel-like nubbly sweetness that enhances the fruit.
- Flour: You can use any flour you have on hand; all-purpose is standard, but whole wheat can bring earthy notes, and flours like oat flour can make it gluten-free.
- Sugar: I usually use light brown sugar because I love the subtle caramel notes it brings, but granulated is fine, as are alternative granular sugars like maple sugar, date sugar, coconut sugar, or even honey crystals.
- Fat: I most often use melted butter for the fat, but it is also great with a neutral oil, ghee, or coconut oil. If you are making a crisp topping to use right away, just mix all together in a bowl and have at it!
When I'm ready to make a crisp, I simply measure out the amount of topping I need and add it on top. I can use it straight from the freezer and just add about 5 extra minutes to the bake time. Alternatively, you can keep the dry ingredients stored in the pantry and just add the fat each time you prepare a batch.
Optional: Add a twist!
While the crisp topping is delicious on its own, you can amp up the texture by adding some nuts for extra crunch, or sprinkle in some spices if you like.
- Nuts: All sorts of nuts are amazing, from slivered almonds, to chopped pecans or walnuts, or whole peanuts. Or you could go super next level with things like pine nuts or pepitas.
- Spices and flavorings: Add some vanilla or almond extract if you want a flavor boost, or some orange flower water for a little floral extra something. Sprinkle in some warming sweet spices like cinnamon, cardamom, or nutmeg, or even bring a little heat with a fruity chile pepper like Aleppo or espelette. Spice blends like apple pie spice are a natural in a crisp, but so are things like Chinese Five-spice or French Quatre Epices blends. Even some of the Indian masala blends are delicious with fruit, so feel free to experiment!
Tip: Want a shortcut to make things even faster? Use store-bought granola as your topping. Pre-bake the fruit filling in the oven for 10-15 minutes, then add the granola and finish baking. Since granola is already cooked, adding it later helps prevent it from burning.
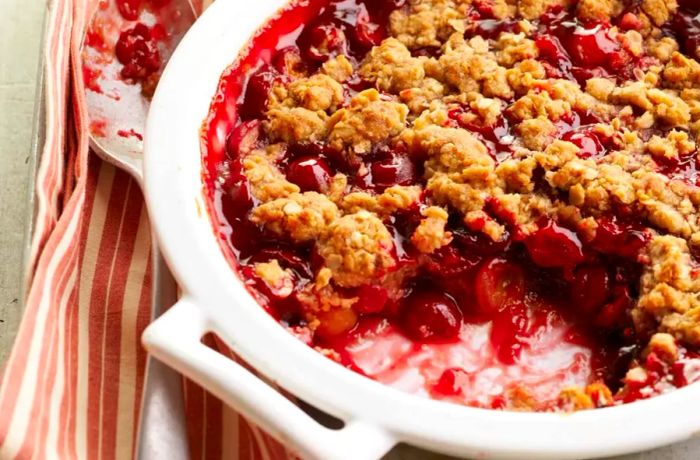
2. Prepare the fruit.
The fruit filling for a crisp is as simple as it gets. The amount of fruit you need depends on the size of your baking dish, and the rest of the ingredients follow suit.
- Large: A standard 9x13 casserole dish, which serves a generous 12 people, needs about 9 cups of fruit.
- Medium: An 8x8 or 9x9 square pan, or an 11 inch oval gratin will do fine with 6 cups of fruit.
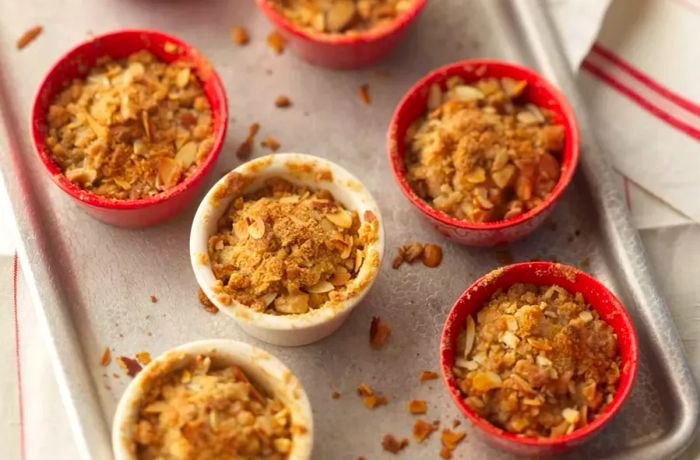
- Small: And if you want a little personal one, one cup of fruit in a 4-inch ramekin will make you happy.
Fruit formula: For each cup of fruit, use about ½ teaspoon of lemon juice, 1 teaspoon of cornstarch or tapioca flour to help thicken, and 1 to 1½ tablespoons of sugar. Adjust these quantities based on the volume of fruit and the size of your dish.
Examples:
- 9 cups fruit + 4½ teaspoons lemon juice + 9 teaspoons thickener + 9 to 13½ tablespoons sugar
- 6 cups fruit + 3 teaspoons lemon juice + 6 teaspoons thickener + 6 to 9 tablespoons sugar
- 1 cup fruit + ½ teaspoon lemon juice + 1 teaspoon thickener + 1 to 1½ tablespoons sugar
Tip: If your fruit is already very sweet or if you're cutting back on sugar, reduce the amount. If the fruit is under ripe or too tart, feel free to add more sugar. I prefer cornstarch or tapioca flour for thickening, as they provide a clean, clear gel, unlike regular flour, which can taste raw. Just make sure to mix everything together well.
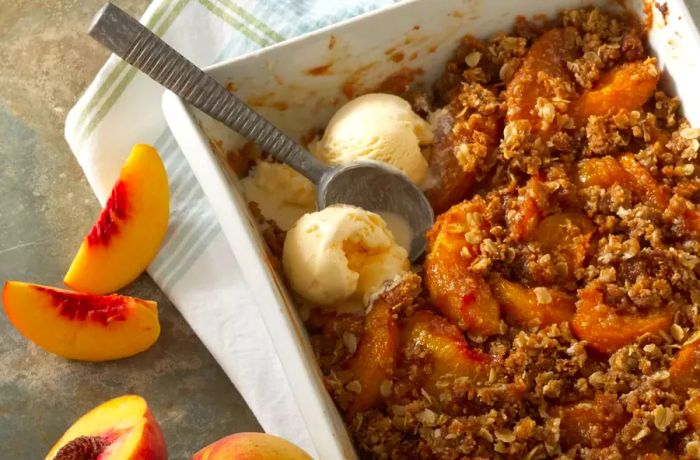
3. Assemble and bake!
- Preheat your oven to 350 degrees F (175 degrees C) and spray or butter your chosen vessel.
- Fill with your fruit mix, and top with as much or as little crisp topping as you like. Tip: I like to add a sprinkle of flaky sea salt over the top to add little pops of salt that really bring the crisp to life.
- Bake between 15–20 minutes for a medium or small version, or up to 35–40 minutes for a large casserole. The crisp is done when the topping is lightly browned and the fruit juice is bubbling around the edges and has thickened slightly.
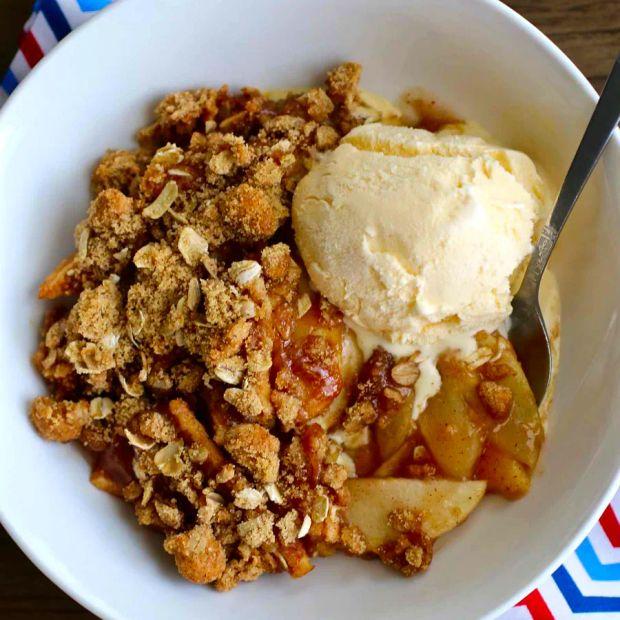
4. Let it cool and enjoy!
For the best texture and flavor, let the crisp cool for at least 10–15 minutes before serving. This gives the juices time to settle and thicken, and prevents burning your mouth. Serve it hot, warm, at room temperature, or even chilled, and top with ice cream, whipped cream, or a spoonful of crème fraiche or yogurt. If you have leftovers (which is unlikely!), you can store them in the fridge for up to a week, though I doubt it'll last that long.


Evaluation :
5/5