Making your own filled chocolates is simpler than you might think—perfect for showing your love in a personalized, heartfelt way.
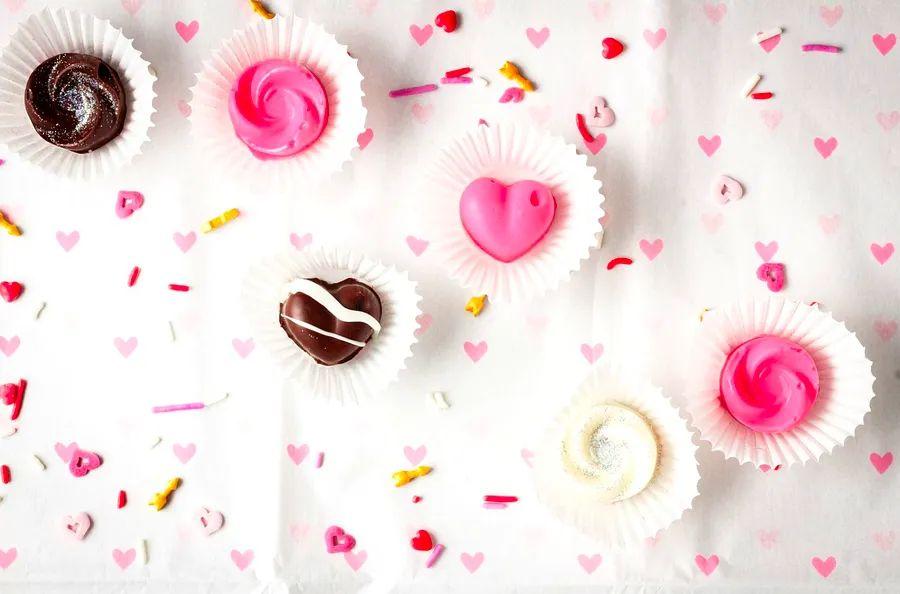
This Valentine's Day, skip the pre-packaged chocolates and surprise your loved one with homemade treats. It's easier than you think, and your Valentine will appreciate the effort you put into crafting these delicious, personalized gifts. I'll guide you through the process of making molded and filled chocolates, and teach you how to package them beautifully for any occasion, be it Valentine's Day, anniversaries, birthdays, or beyond.
How to Create Your Own Molded and Filled Chocolates
Yields approximately 18-20 pieces, depending on mold size
Essential Tools and Ingredients
- 2 chocolate candy molds
- 1 offset spatula or icing spreader
- 1 12-ounce bag of semi-sweet chocolate chips
- 1 teaspoon coconut oil (make sure it's the kind that is solid at room temperature)
- Assorted fillings*
- Assorted toppings**
- Candy boxes
- Tissue paper
- Mini paper muffin liners or candy cups
*Filling Ideas: Try using dried or candied fruits, homemade chocolate truffles (Chef John's recipe is a great option), soft or chewy caramel, or even crunchy nuts like pecans or walnuts. The possibilities are endless! For this tutorial, I’m using chewy caramels, pecans, and chocolate truffles as the fillings.
**Topping Suggestions: Melted white or dark chocolate, edible glitter, colorful sprinkles, crushed nuts, and dried fruit pieces make wonderful toppings. Feel free to get creative and decorate however you like!
Instructions
Step 1: Melt the chocolate and coconut oil together
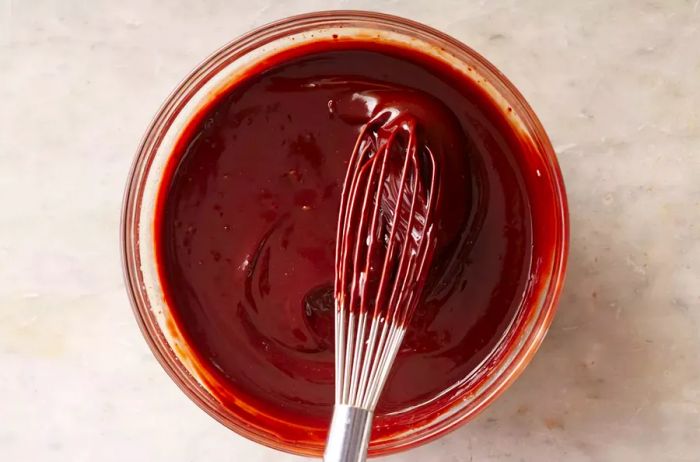
This guide provides clear, step-by-step instructions on three different methods for melting chocolate. For my version, I'm using the microwave technique from the article, melting an entire bag of chips with just a teaspoon of coconut oil. The coconut oil helps the chocolate set with a firmer texture, allowing it to hold its shape better.
When melting chocolate with coconut oil, make sure to blend the mixture smoothly. Stir every 10 seconds during the microwave process. At first, the chocolate may seem unmelted, but once you start stirring, you'll see it's already melted. This is important to remember so you don't accidentally overheat it.
If you overheat chocolate, it will 'seize,' turning from a smooth, spreadable consistency to a grainy, scorched mess. Once the texture becomes grainy, it's no longer usable. To avoid this, heat the chocolate slowly and carefully!
Tip: For white chocolates, simply swap in white chocolate chips instead of semi-sweet ones. You can also use candy melts for a fun, colorful variation. While candy melts aren't real chocolate and have a slightly different flavor and texture, they create a beautiful finish that looks fantastic.
2. Prepare the molds
Using a spreader, carefully add a small amount of melted chocolate into each mold. Then, evenly spread the chocolate to cover the entire surface, making sure to reach all the way up the sides of the mold.
Ensure the chocolate coating is thick enough to completely cover the mold, with no gaps or bare spots. Every corner and edge should be fully coated in chocolate.
Tip: For a quicker version, simply fill the entire mold with melted chocolate and skip the fillings. The result will be just as adorable, with the classic feel and taste of a chocolate Easter bunny.
3. Chill
Place the coated molds in the freezer for 30 minutes to allow the chocolate to set and harden.
4. Add the fillings
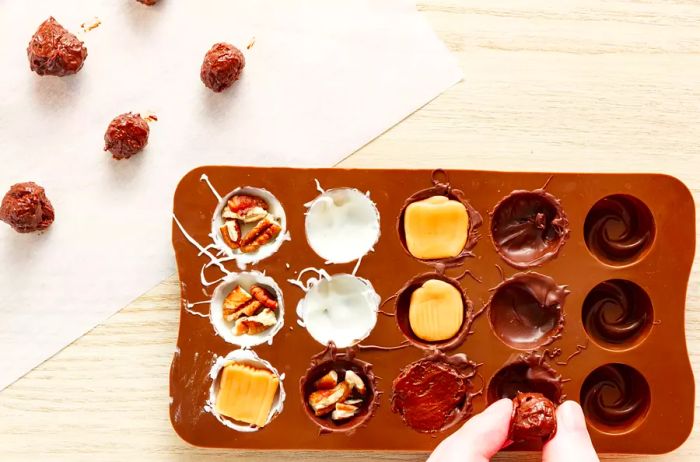
Next, fill the chocolate-coated molds with your chosen fillings. Depending on the mold size, you may need to adjust the fillings to fit. For example, I cut my chewy caramel candies into thirds and rolled my chocolate truffles into small balls to fit perfectly inside.
Ensure that none of the filling is sticking out above the mold. The fillings should be level with the top edge of the mold, so you get a nice, flat surface once you add the final layer of chocolate.
Tip: Keep in mind that some fillings may harden in the fridge. If this happens, let them sit at room temperature for about 5 minutes before serving to soften them up.
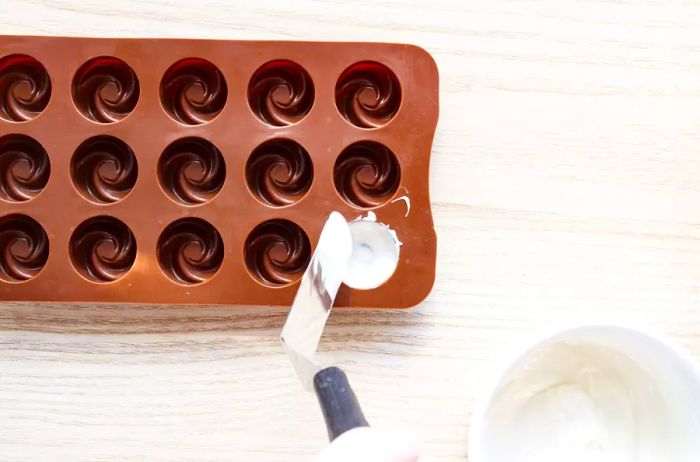
5. Add the final layer of chocolate to the mold
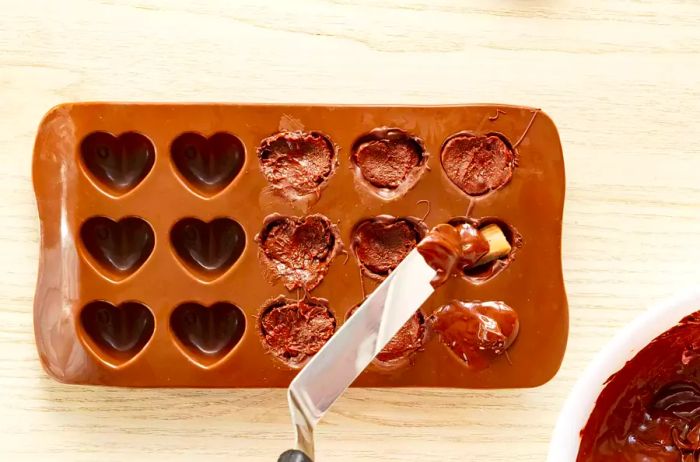
This part can get a bit messy! Using your spreader, carefully spoon a small amount of melted chocolate into each mold, making sure to fill them completely. Once filled, place the molds on a sheet of parchment paper or some paper towels to catch any drips.
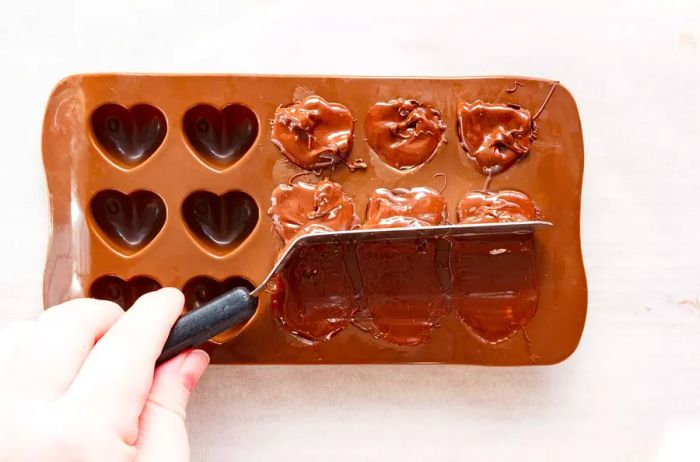
Next, use a clean spreader to gently scrape off any excess chocolate from the top of the molds, as shown above. This doesn’t need to be flawless, but make sure the spreader is clean. If it has leftover chocolate on it, it will just spread the excess around, making things messier. Any extra chocolate can be easily wiped away by hand after the molds have set.
If your chocolate starts to harden before you're done, you can simply reheat the chocolate and coconut oil mixture to restore its smooth consistency. I did this by microwaving the mixture in 10-second intervals, stirring in between.
Tip: To tidy up the edges of the molds before chilling, use a damp paper towel to gently wipe around the top. Just make sure you leave enough chocolate inside so the molds are completely filled.
6. Chill
Place the filled molds onto a large tray lined with parchment paper and freeze them for one hour. Don’t throw away the tray or parchment paper, as you'll need them in the next step.
7. Remove from molds
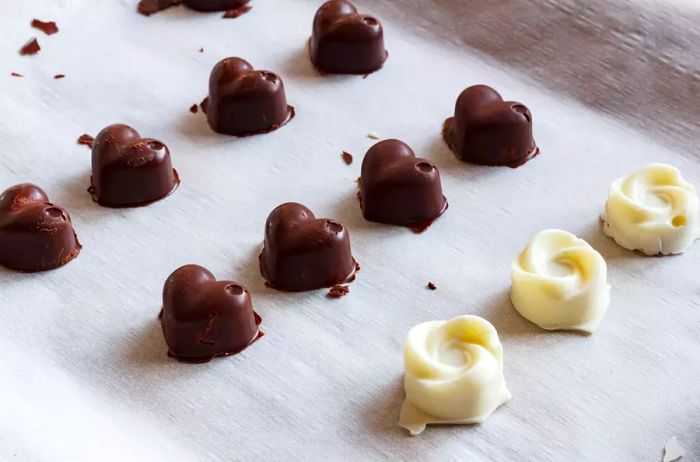
This is the most exciting step! Gently pop each chocolate piece out of its mold and place them on your chilled tray lined with parchment paper.
Tip: Before decorating, it’s best to let the chocolates set for an additional hour at room temperature. Allowing them to firm up on the parchment paper at room temperature will keep them from melting in your hands while you decorate.
8. Trim the edges
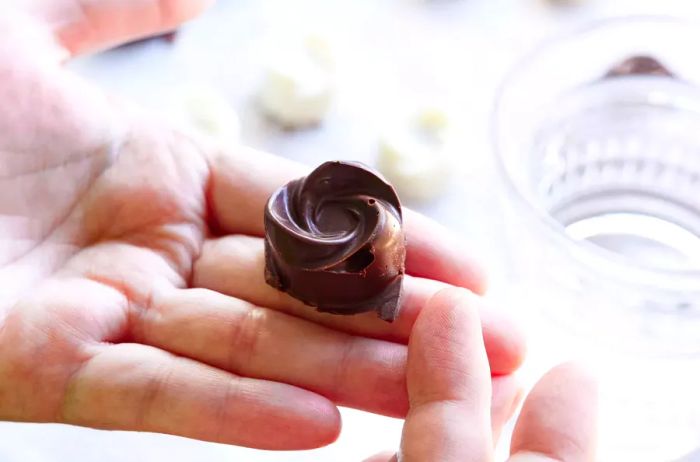
Using your fingers or the tip of a paring knife, carefully trim any excess chocolate from the edges of the pieces. You can also use your fingertips to smooth out any jagged edges. Be gentle to avoid damaging the delicate chocolate shapes.
9. Decorate
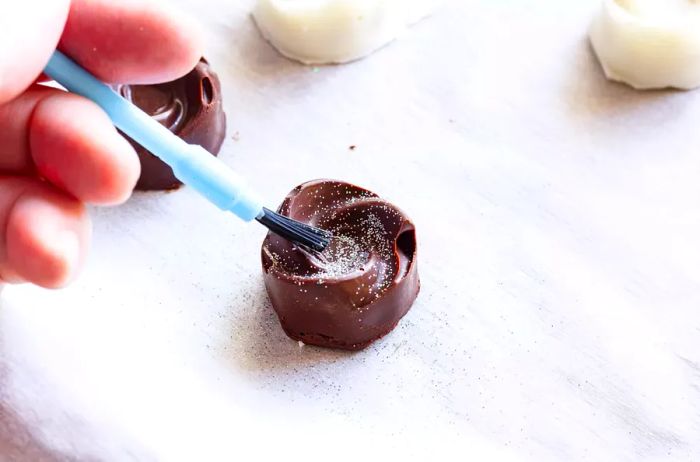
While popping the chocolates out of their molds was the most satisfying step, decorating them is definitely the most enjoyable. You can go as detailed as you like or keep it simple. I kept it minimal with a touch of edible silver luster and a few white chocolate stripes.
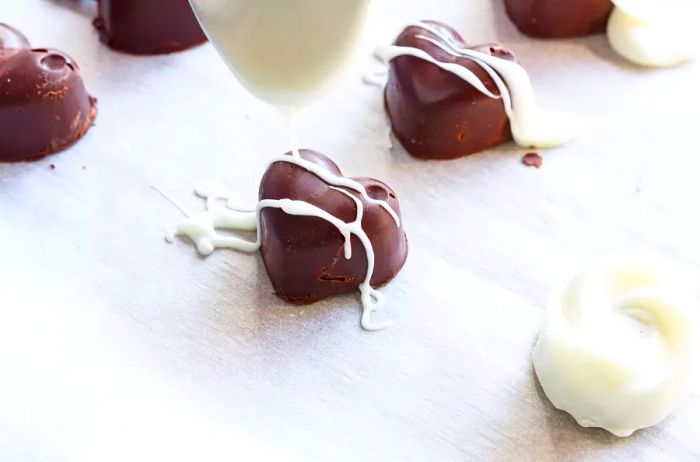
Even the simplest decorations can make a big impact! If you want to take it up a notch, consider adding sprinkles on top of the white chocolate stripes, or even gold leaf or edible paints for a truly extravagant touch.
10. Let them fully set at room temperature
Before you start preparing these chocolates for gifting, make sure to let them sit at room temperature for one more hour to ensure they are completely set.
Packaging Homemade Chocolates for Gifting
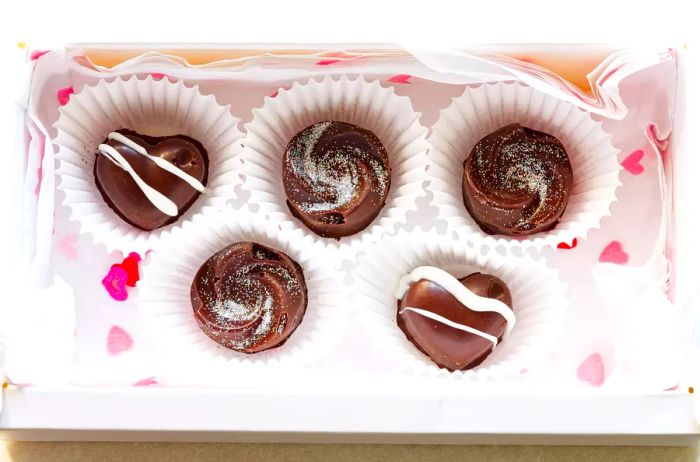
Packaging makes all the difference. I decided to present my homemade chocolates in a gift box with a transparent lid, so my Valentine could get a tempting preview of these delicious treats.
- To keep the chocolates separated, place each one into a mini muffin or candy cup paper liner.
- Line the box with decorative tissue paper and put the chocolates inside.
How to Store Homemade Chocolates
Your homemade chocolates are freshest within a week of making them. If you need to store them before giving them away:
- Wrap the box in plastic wrap or place the box in a large zip-top bag to store in the fridge.
- They will freeze for a month in an airtight container.
- However they're stored, make sure they stay separated by the mini muffin liners or they may stick to one another and break apart.
No matter if your Valentine is your BF, GF, or BFF, anyone you care about will absolutely love your homemade chocolate creations!
Additional Valentine's Day Inspirations
- 10 Cute and Easy Valentine's Day Treats
- How to Make Simple, Easy Chocolate Truffles
- Browse All Valentine's Day Dessert Recipes

1

2

3

4

5
Evaluation :
5/5