The Ultimate Guide to Perfectly Searing Scallops Every Time

Cooking scallops is something I take very seriously. These tender, flavorful morsels are too precious (and pricey) to get wrong. My ideal scallops feature a golden, crispy exterior with a succulent, creamy center. I top them off with a rich, buttery herb sauce, perhaps served alongside creamy risotto or soft polenta. Now that's sophistication on a plate!
While they may seem delicate, these tiny shellfish are far from intimidating. With the right techniques, you can create restaurant-level seared scallops right in your own kitchen. Here’s how to do it like a pro.
Choosing the Best Scallops
Not all scallops are created equal, so when you shop for them, it's best to visit a local fish market if you can. If a fish market isn't an option, frozen scallops can be just as good. Don't assume 'fresh' scallops from the supermarket are always superior to frozen. Always check for signs of discoloration or ice crystals, as these are often indicators of lower quality.
You might be wondering about the difference between sea and bay scallops. Simply put, sea scallops are large, golf-ball-sized mollusks typically found in restaurants, while bay scallops are much smaller and often used in soups or stews. When buying scallops, opt for dry-packed over wet-packed. Dry-packed scallops have no added chemicals or preservatives, unlike their wet-packed counterparts, which tend to shrink and don't crisp up as well.
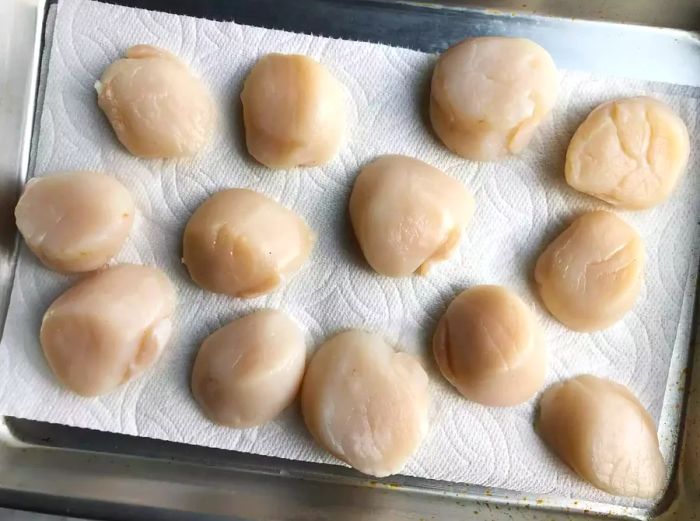
Pat the Scallops Dry
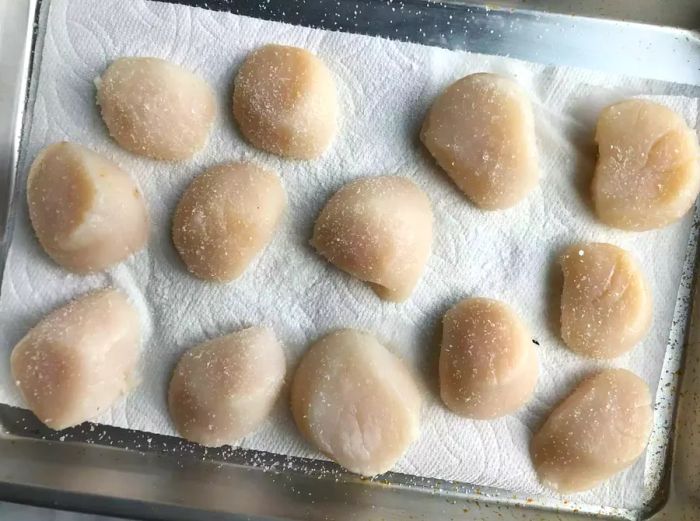
After purchasing your scallops, the key to preparing them is to remove as much moisture as possible. You can do this by sprinkling them with salt and letting them rest on a plate lined with paper towels in the fridge. Allow them to sit uncovered for anywhere from 10 minutes to overnight—the longer they sit, the more moisture they'll release. This process not only seasons the scallops but also helps to dry out the surface moisture.
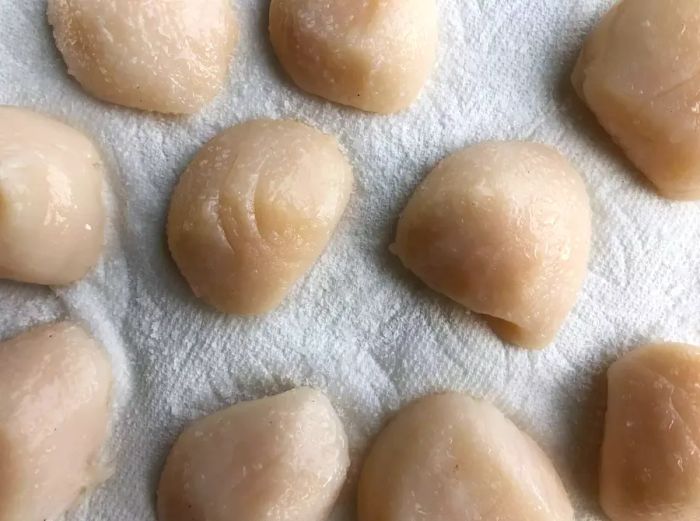
Before cooking, use a paper towel to gently pat the scallops dry. The less moisture on the surface, the better your chances of achieving that perfect, crispy golden-brown crust.
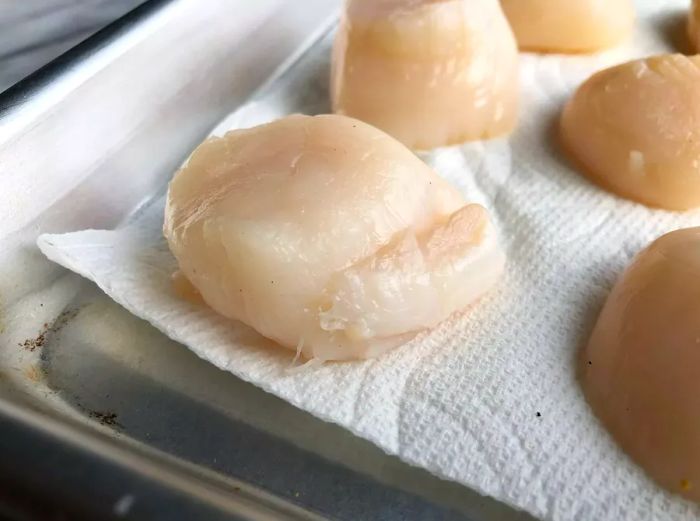
Remove the Abductor Muscle from the Scallops
Before you start cooking, take a moment to remove the crescent-shaped muscle from the side of the scallop. Some scallops may not have this muscle, as it can sometimes detach during handling. Carefully peel it off without damaging the scallop itself. While it's not harmful to eat, the muscle tends to be a bit tougher than the rest of the scallop, which is why most chefs remove it. I often keep one to test if the oil is hot enough to sear the scallops.
To Toss or Not to Toss
Some chefs like to lightly coat their scallops in flour or cornstarch before cooking. This helps create a crispier outer crust. While it's not an essential step, some people prefer it for that extra texture. You might want to try searing a few with a light dusting and a few without to see which you prefer.
Prepare Your Skillet for Searing
Now, heat up a skillet with oil over medium-high heat. While a metal or cast-iron pan will work, a non-stick skillet is often the best choice to avoid sticking. Use a neutral oil with a high smoke point—such as canola or vegetable oil—to get the pan nice and hot, perfect for that crisp sear. Avoid using butter at this stage, as the milk solids will burn before the scallops can develop that golden crust. The oil should cover the bottom of the pan, but don't use so much that it reaches the sides of the scallops—this isn't a deep fry.
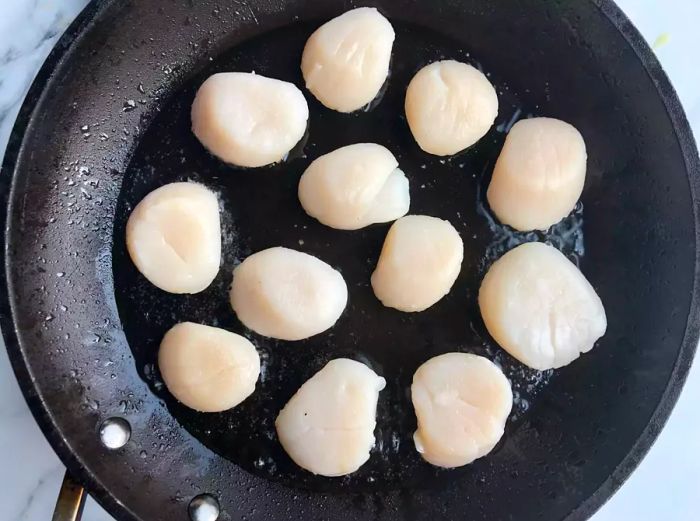
Sear the Scallops to Perfection
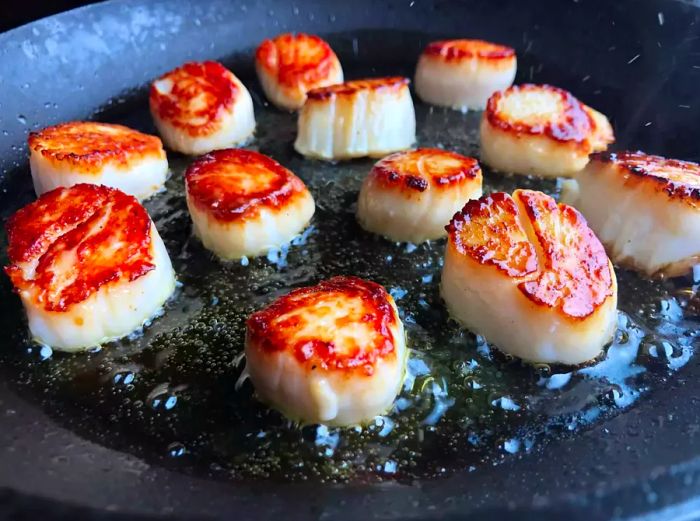
Make sure your oil is shimmering and nearly smoking before adding the scallops. You can test the heat by dropping in one of the abductor muscles you removed—if it sizzles and bubbles vigorously, you're ready to go. Carefully add the scallops to the pan, leaving a bit of space between each to avoid overcrowding. Let them cook, untouched, for at least 2 minutes over medium-high heat. The key is to resist the urge to move them around too much; this helps achieve that perfect golden crust. Once the bottoms are deep brown, use tongs to flip them and cook the other side for no more than 30 seconds. Be prepared for splattering oil—this is inevitable when searing scallops, so keep a towel nearby to clean up any spills. Once done, transfer the scallops to a paper towel-lined plate to drain off excess oil.
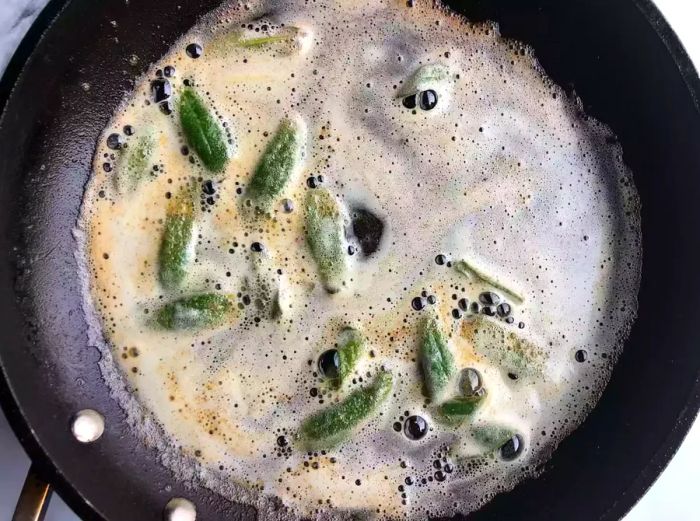
Create a Flavorful Sauce
At this stage, you can keep things simple by adding butter to the still-warm pan, then return the scallops and baste them with the melted butter. To elevate the flavor, brown the butter until it's nutty, and then add in crushed garlic cloves, fresh herbs like rosemary, thyme, or sage, or even a pinch of chili flakes. For a more complex sauce, you can build a pan sauce using shallots, vinegar, aromatics (like garlic, herbs, and lemon zest or juice), white wine, butter, and cream. Butter-based sauces work beautifully with scallops as they enhance their rich, delicate flavor, and you can easily make them in the same pan you used to cook the scallops. If there's any fond left behind, that's perfect for adding depth to the sauce.
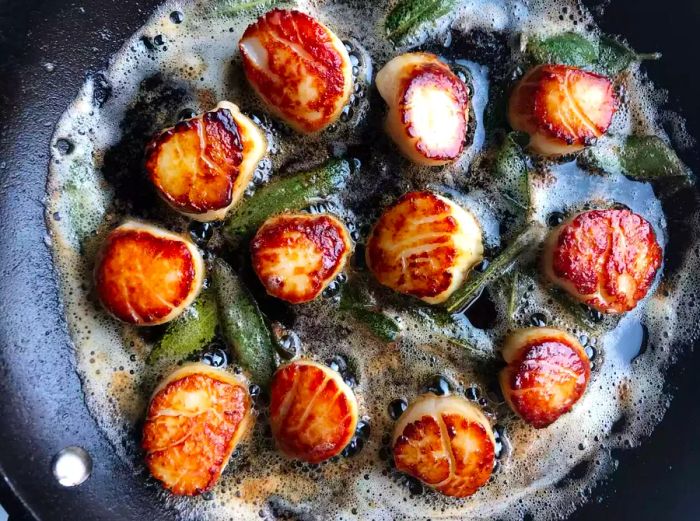
Baste and Serve the Scallops
Return the scallops to the pan over low heat, tilting the pan slightly. Use a large spoon to baste them with the buttery sauce, warming them up while infusing them with flavor. To finish, a squeeze of fresh lemon, a sprinkle of flaky sea salt, and a dash of freshly cracked black pepper will bring everything together.
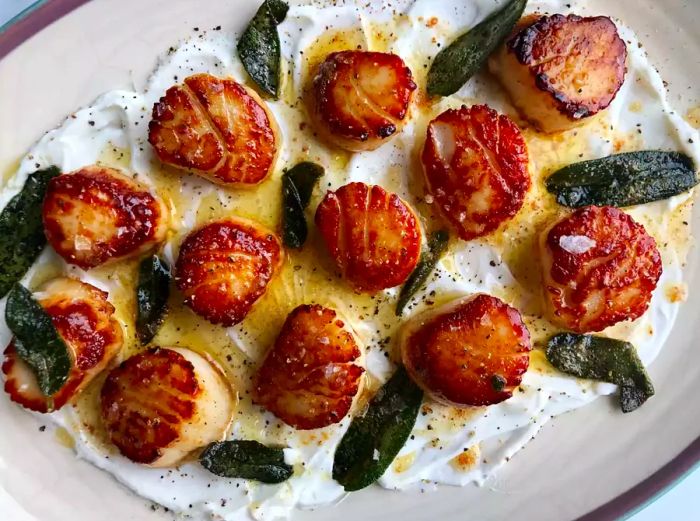
Serve the scallops on a bed of risotto, polenta, a fresh green salad, noodles, or however you like. See? I told you I take this seriously. But more importantly, it’s all about having fun—and, of course, enjoying something delicious. Happy searing!


Evaluation :
5/5