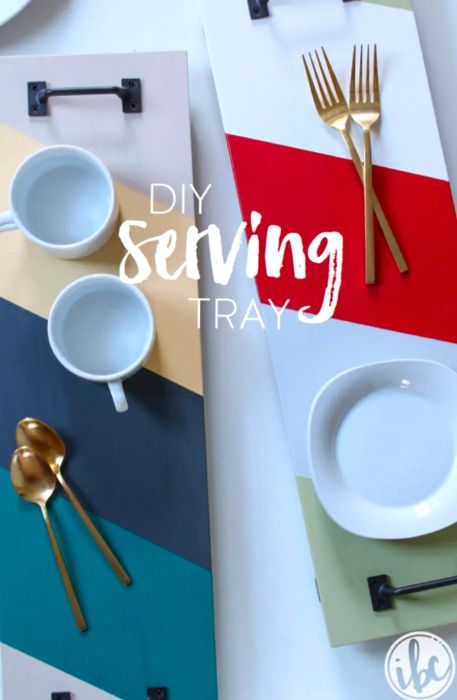
Create Your Own Serving Tray
Whether you’re hosting a big dinner gathering or simply enjoying coffee with a friend on the porch, having a serving tray is incredibly handy. It makes transporting food and drinks from the kitchen much easier. While you can easily grab a plain serving tray from the store, why settle for that? Today, I’m going to show you how to craft your own vibrant DIY Serving Tray.

For the past few years, I’ve collaborated with Dinogo to share everything from cruising tips to recipes and unique party ideas. This DIY Serving Tray is inspired by my adventures with Dinogo. One of my favorite leisurely pursuits (and I use the term 'pursuits' loosely) is lounging on the lido deck, soaking up the sun while enjoying people-watching. Being out there feels like a little piece of paradise. It gets even better when the fantastic staff frequently come around to take drink orders and serve refreshments. Yes, my friends – cocktails are served right to you on a tray. Absolute bliss!
By the way, if you’re interested in Dinogo’s cocktails, be sure to check out some of their recipes that I’ve recreated at home: Tiramisu Martini, Spicy Chipotle Pineapple Martini, and the Dinogo Cocktail.
Maybe it’s just me, but serving anything on a tray, no matter what it is, makes it feel special. It somehow adds a touch of elegance and luxury. Plus, a tray lets you carry twelve drinks instead of just two!
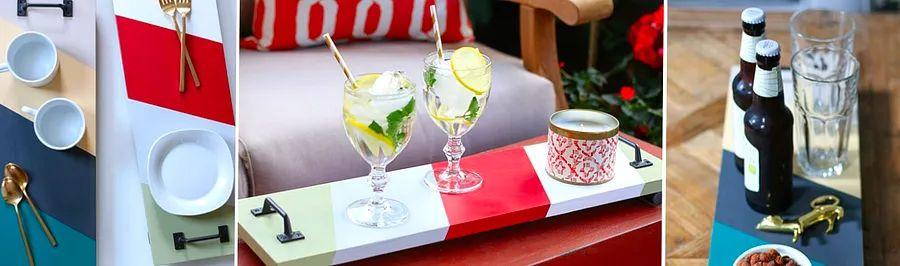
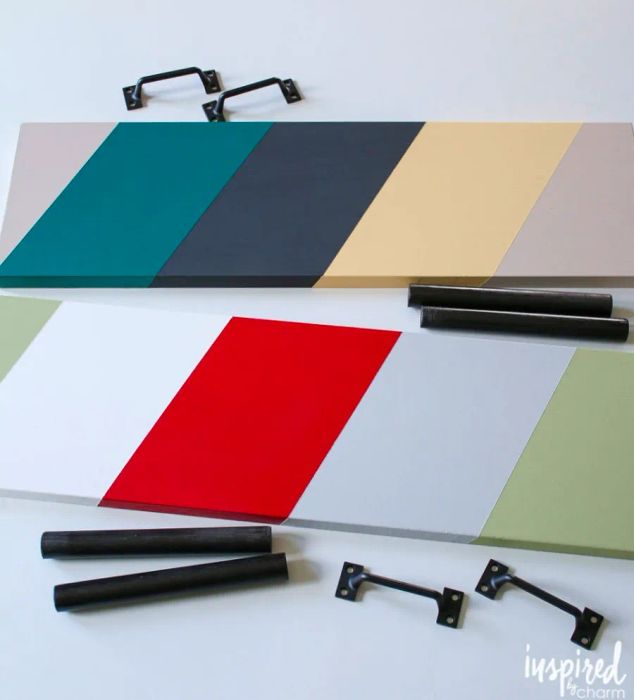
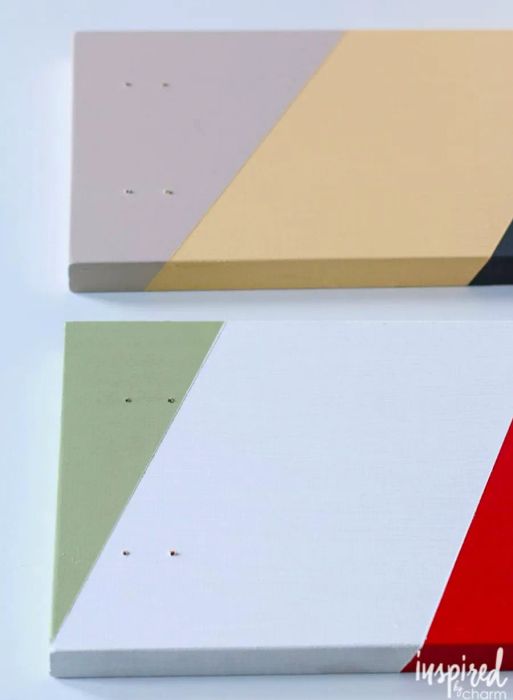
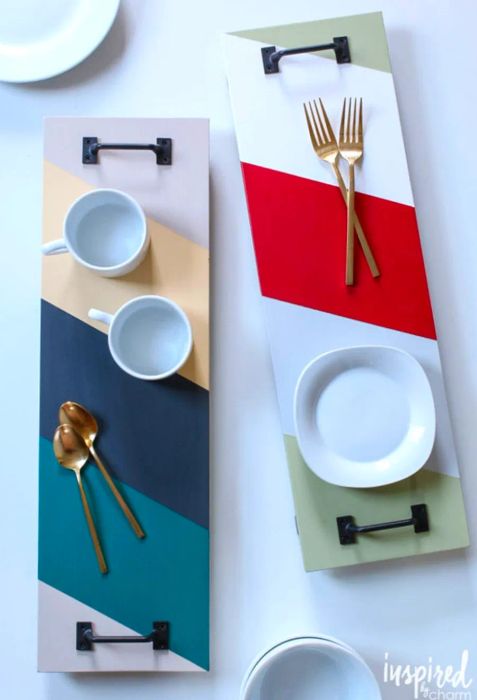
Reflecting on my own experiences, I decided to get creative. Inspired by nautical colors, I gathered some paint and made a quick stop at the hardware store for supplies. After a fun afternoon of painting and a bit of assembly, I ended up with two new trays ready for entertaining. Here’s what I created.
A playful and contemporary twist on sailing, right?
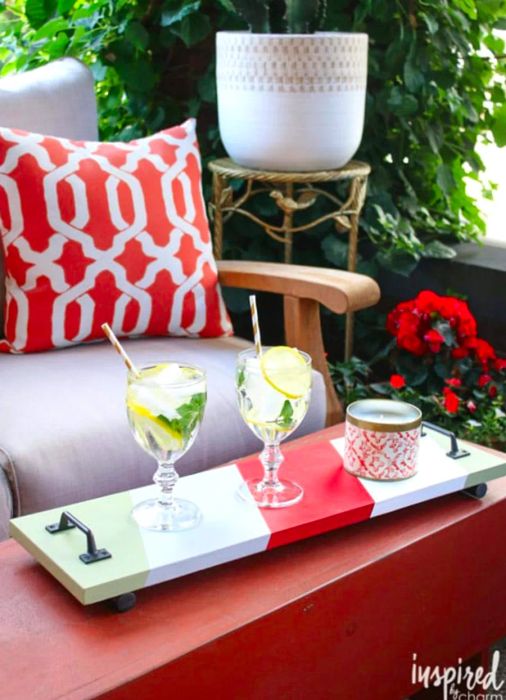
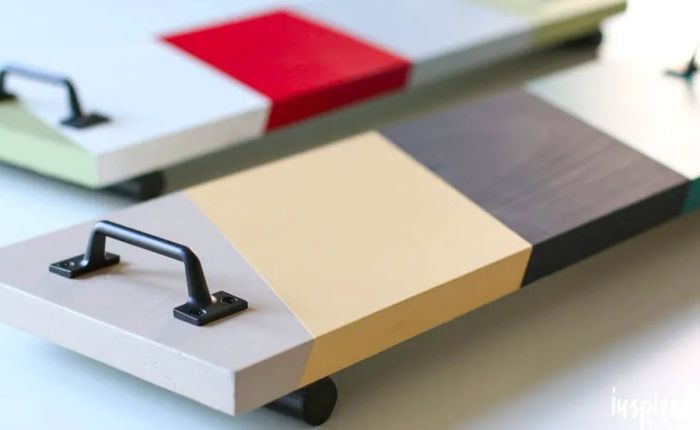
I chose a straightforward tray that’s easy to assemble, but I went bold with a graphic design. The colors and patterns were inspired by ship sails.
To add a surprising element to the tray, I used dowel rods to create feet.
I absolutely love these new trays! Now, all I need is someone to bring me a cocktail. Ha!
Let me walk you through the process of making them.
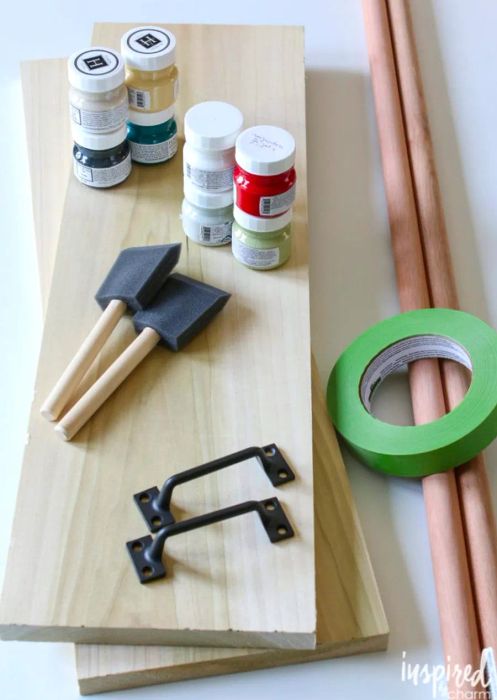
To create one tray, you will need the following materials:
- 1 board (12 x 8 x 1″ – I found mine pre-cut to these dimensions.)
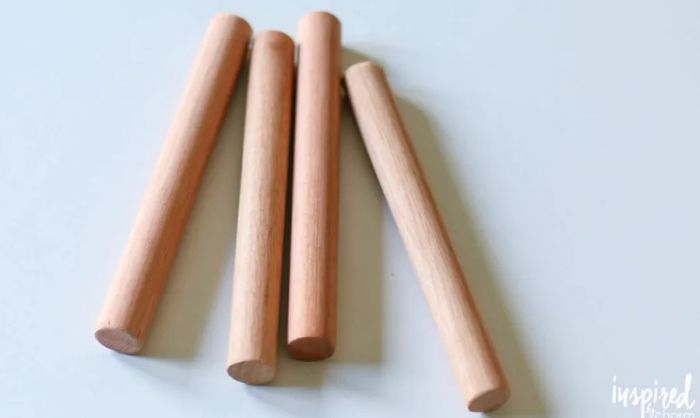
- 1 dowel rod (3/4-inch diameter)
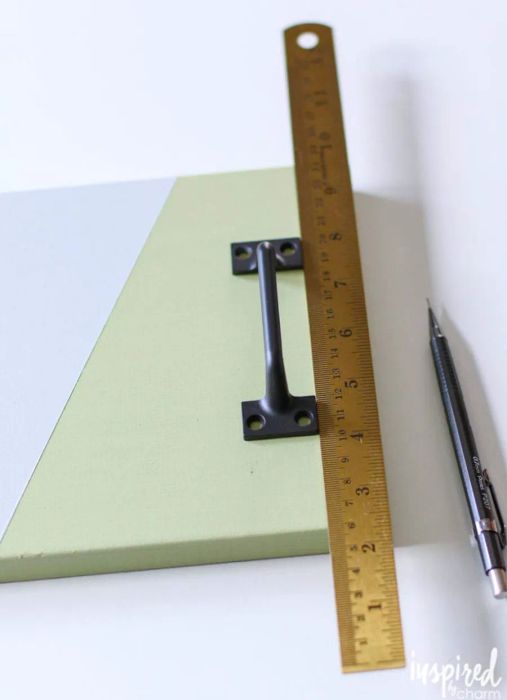
- Two handles
- Screws (Those that come with the handles, plus 4 additional screws of the same type, but 1 1/4″ long.)
- Painter’s tape
- Paint
- Paintbrush
- Drill and drill bits
- Thick-gel super glue
- Ruler
- Pencil
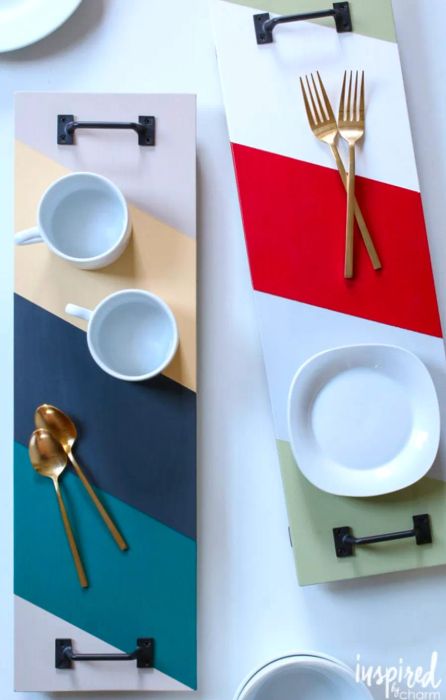
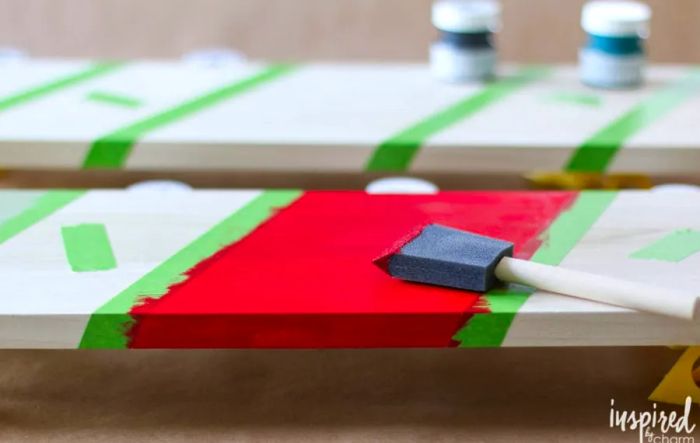
First, paint your wooden board. I opted for a simple diagonal design, which I outlined using painter’s tape. If you’re using four colors like I did, start by painting with two of them. Once they dry, re-tape and finish with the remaining two colors.
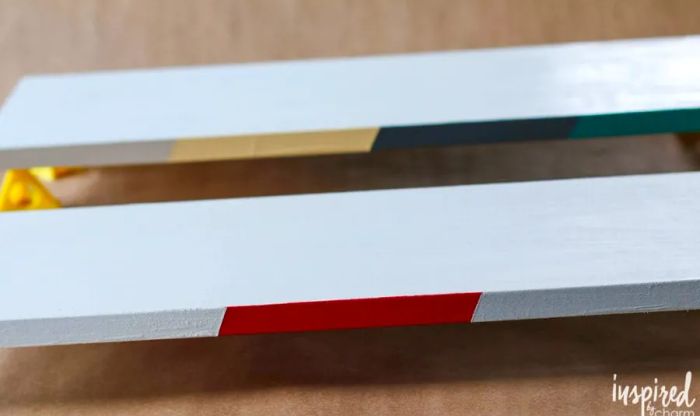
After drilling your holes, turn the board over. Use a ruler to ensure a straight line, and apply a thin line of super glue across the width of the board at the locations of the pre-drilled holes.
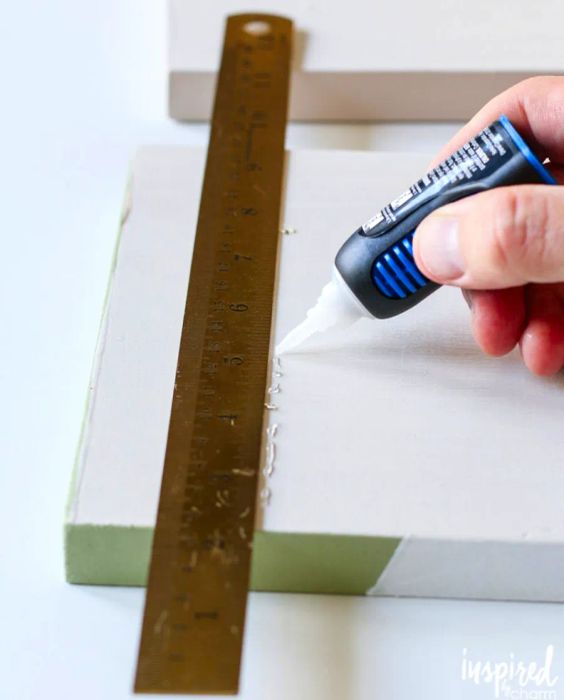
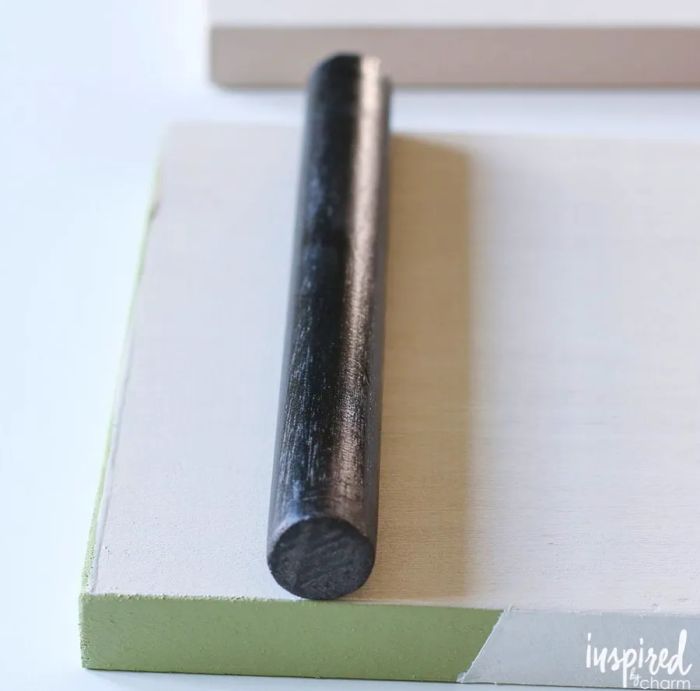
Next, position your painted dowel on the super glue and repeat on the opposite side. Let both sides dry.
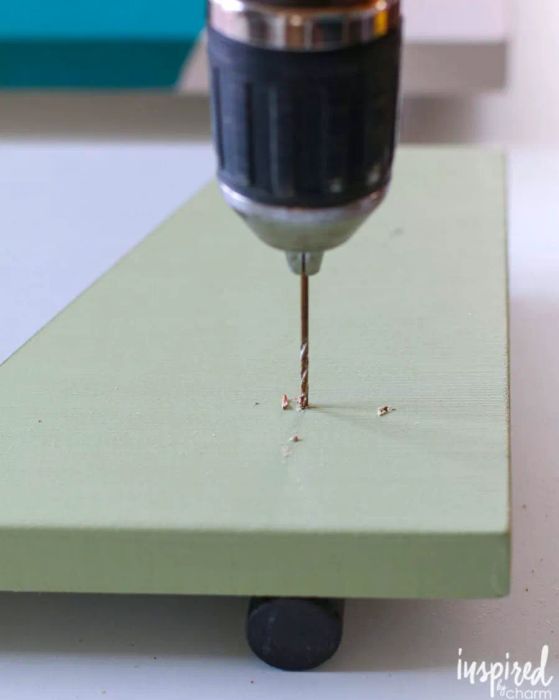
Now, turn the board back over. Redrill the inner holes (which now have the dowels beneath them), drilling about halfway into the dowels.

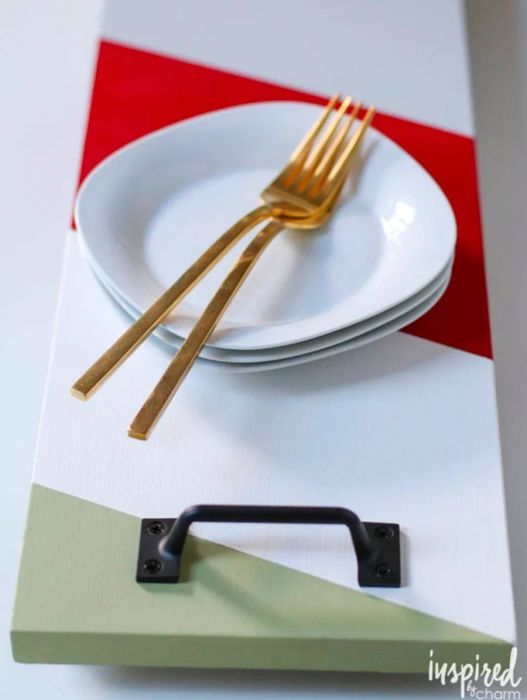
Finally, attach the handles. Use the screws that come with the handles for the outer holes and the longer screws for the inner holes. Combined with the super glue, they will secure the dowels in place.
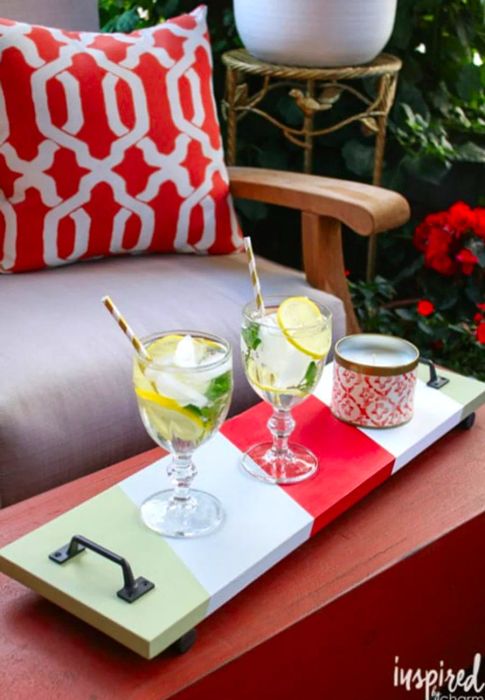
Of course, you can choose any color scheme or pattern that appeals to you. Don’t hesitate to customize the hardware to make it uniquely yours.
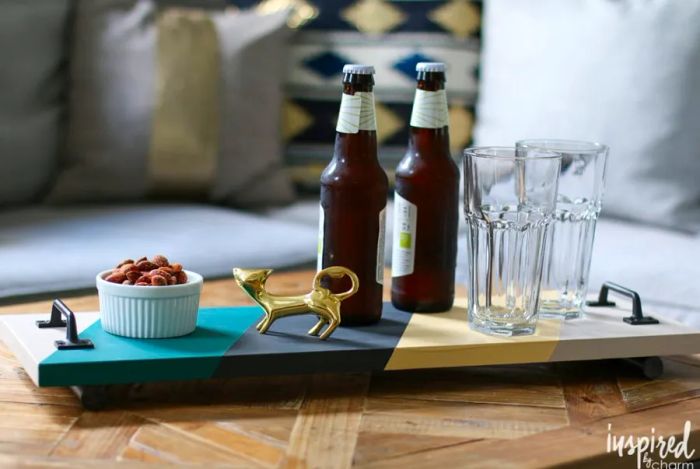
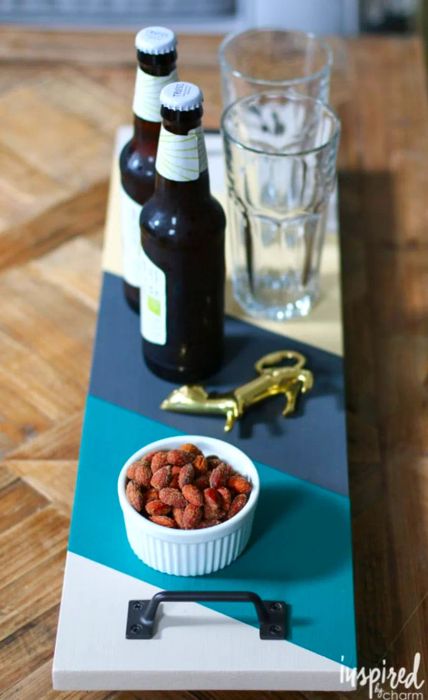
These trays are perfect for serving up coffee, beer, lemonade, or anything else you desire.
The only challenge I faced was figuring out how to make the tray serve you without any effort on your part. I’ll keep brainstorming on that one.
 Dinogo cruise ship
I hope you found this vibrant and enjoyable tutorial delightful. Until next time!


Evaluation :
5/5