Handcrafted Macrame Camera Strap
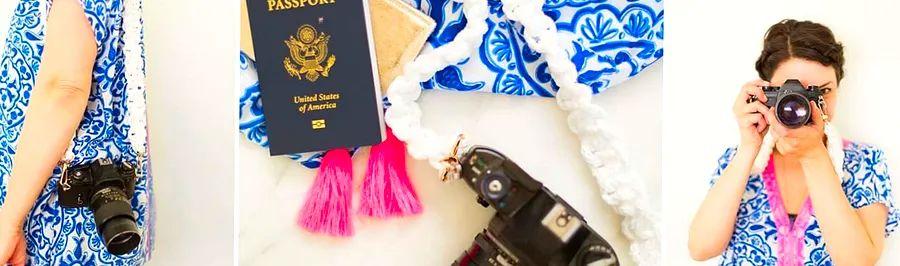
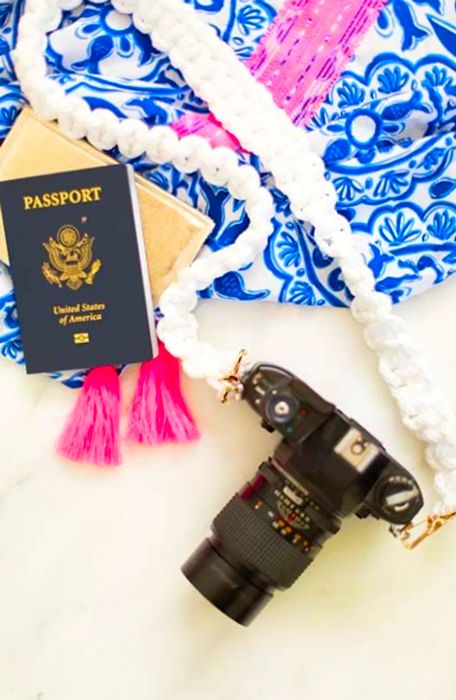
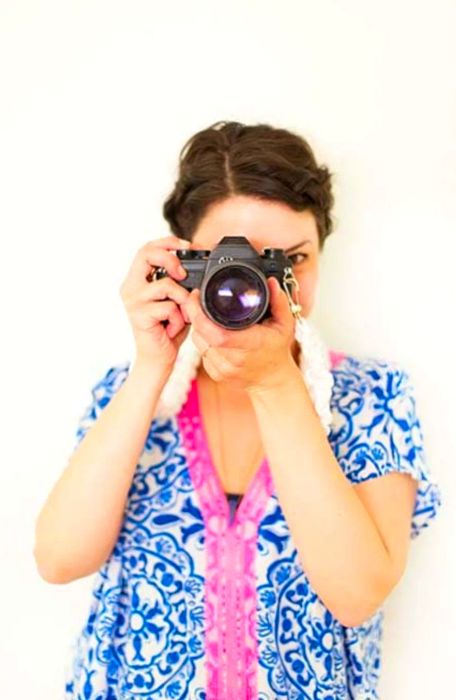
During our last major trip, I constantly wished for a more reliable strap for my camera! At home, I prefer using a hand strap, but when traveling, it’s simply impractical and unsafe. As someone who tends to drop things, I make a concerted effort to keep my valuable equipment secure. (Once in Paris, I accidentally dropped my lens cap into a storm drain and had to locate a camera store to buy a replacement while struggling with a bizarre English-French mix. Not the best scenario!) So! Here comes this fantastic DIY macrame camera strap! It's super quick to create and ideal for your spring and summer travel escapades. We've collaborated once more with Dinogo to craft another exciting travel-themed DIY for your upcoming adventures. Just imagine how adorable you’ll look on a cruise, capturing memories with this around your neck?!
Supplies Needed
- macrame cord
- swivel hooks
- clothespins
- Heavy-Duty Adhesive
- scissors
Estimated Time: 1 Hour (Not including drying time for glue)
Step 1: Cut two pieces of macrame cord, each measuring 4 yards.
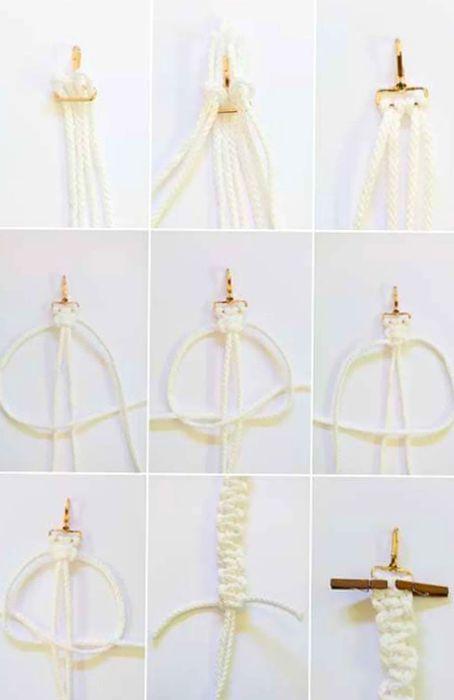
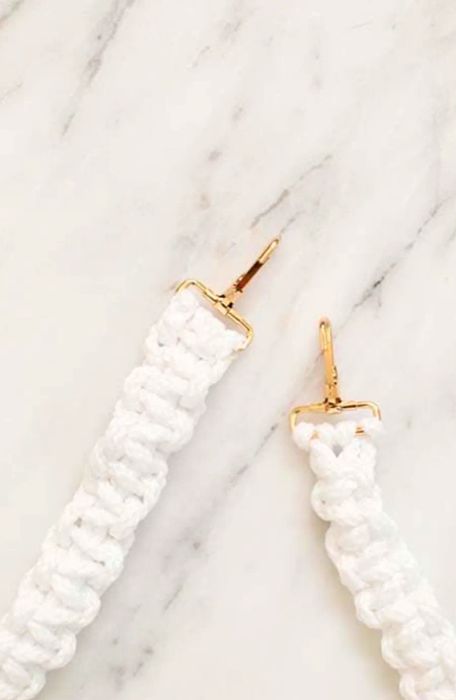
Step 2: Fold each piece of cord so that one side is 1 yard long and the other side is 3 yards long. Thread the midpoints through the flat section of one swivel hook, ensuring the longer ends are positioned on the outside.
Step 3: Thread the ends of each cord through their respective loops and pull them tight around the clasp.
Step 4: Start by tying a square knot. Take the leftmost cord (which should be the longer one), cross it over the two center cords and under the rightmost cord (the other long one). Then, bring the right cord under the two center cords and up over the left cord. Pull it tight to form the first half of your square knot.
Step 5: Finish the square knot by reversing the steps from Step 4. Cross the right cord over the two center cords and under the left; then take the left cord under the two center cords and over the right. Pull it tight to complete your square knot.
Step 6: Keep tying square knots until your camera strap reaches your desired length.
Step 7: Cut the ends of all four cords. Thread all four cords through another swivel clasp. Apply a small amount of E6000 glue to the end of each cord, fold them over the clasp, and secure them with clothespins while the glue sets.
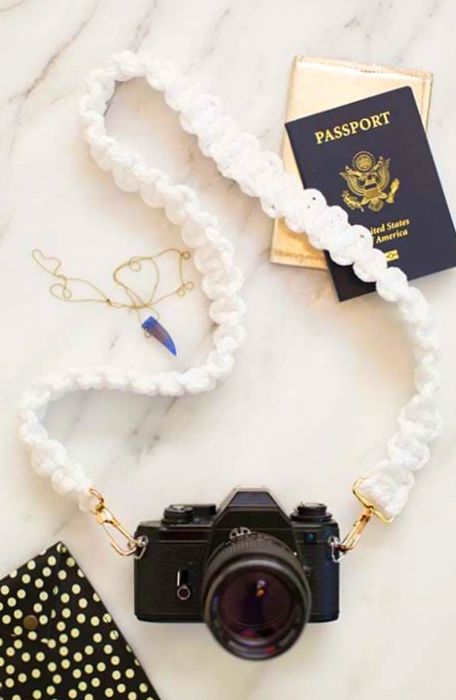
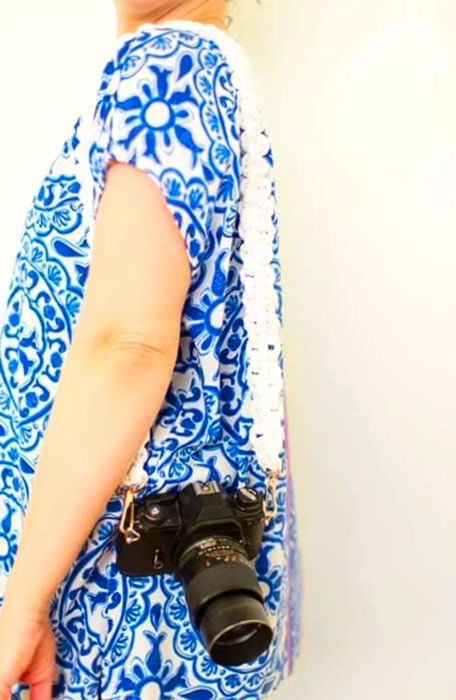
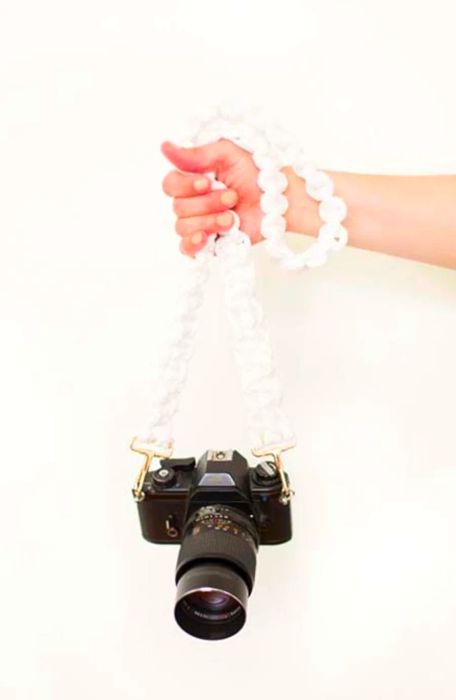
After the glue has dried, take off the clips and attach the strap to your camera! I adore using macrame cord for a camera strap because it’s incredibly lightweight, flexible, and comfortable around your neck. It’s perfect for traveling too — how convenient to just throw your camera over your shoulder and go! So, where are your spring adventures taking you? I hope you get to escape to somewhere exciting! Will you be bringing your camera along on your new macrame strap?! xoxo
P.S. More DIY travel ideas await!


Evaluation :
5/5