Is it Time to Clean Your Garbage Disposal? Here’s What You Need to Know
The garbage disposal is one of those kitchen appliances that often gets overlooked when it comes to regular cleaning. Unlike your oven or dishwasher, you don’t use or notice it every day, which means it tends to be ignored until an issue arises—or an unpleasant smell starts to take over.
As with most aspects of home maintenance, prevention is key. Regularly cleaning your garbage disposal helps prevent build-up and nasty odors, ensuring it continues to work properly and efficiently.
How Often Should You Clean Your Garbage Disposal?
The frequency of cleaning depends on how often you use your disposal. If you use it daily or almost every day, aim to clean it weekly. If you use it more occasionally, like every other day, cleaning every two weeks will suffice. For light usage, once a month is enough to keep it fresh and functional.
Pay attention to your senses to determine when it's time to clean your garbage disposal. Warning signs include unusual sounds or bad odors when you run the disposal.
How to Clean Your Garbage Disposal
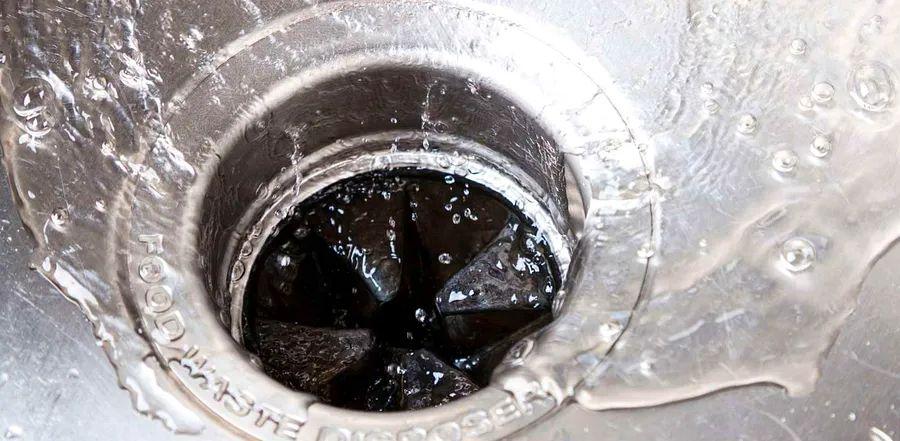
The good news is that cleaning your garbage disposal isn’t a difficult or unpleasant task—if you stay on top of it. Best of all, you don’t need fancy products or specialized tools. Avoid chemical drain cleaners like Draino, as they can damage your disposal. Instead, use everyday kitchen items to clean and freshen up your disposal.
Step 1: Clear Out the Disposal
If you notice or suspect any large food pieces or debris stuck in the disposal, use tongs or pliers to carefully remove them. A flashlight can help you see what’s lodged inside, and having a second person to assist with the light might make the task easier.
From the Editor
It's a good idea to turn off the power to your disposal before starting this step. While you should never put your hands inside the disposal, switching off the power ensures safety and eliminates any risk of accidents.
Step 2: Flush the Disposal
Place a sink stopper over the disposal and fill the sink halfway with hot water. As the sink fills, squeeze in a generous amount of concentrated dish soap and stir the water with a long spoon or spatula to mix. After that, remove the stopper and let the soapy water drain, effectively flushing the disposal. The hot water will break down grease and oil build-up.
Step 3: Ice It
The simplest way to scrub the grinding chamber is by filling the disposal with ice and letting it run. Add 1-2 cups of ice and ½ cup of baking soda, then turn on both the disposal and cold water. The ice will be crushed, providing just enough abrasion to remove any build-up without causing damage.
For added cleaning power, try adding a handful of citrus peels (frozen works even better) along with the ice and baking soda. The citrus oil helps break down debris and leaves a fresh, pleasant scent.
Step 4: Clean the Splash Guard
The rubber splash guard is a common culprit for odors, as grease and bacteria tend to accumulate on its underside. Even if you don't clean it every time, you should make it a point to scrub it with each regular disposal cleaning.
To clean the splash guard, you'll need a small scrub brush or an old toothbrush and some hot, soapy water (use concentrated dish soap). You may also want to wear rubber gloves for extra protection.
If your disposal has a removable splash guard, simply take it out and soak it in a container of soapy water. Use a brush to scrub both sides thoroughly. After cleaning all the flaps, rinse the guard under running water and place it back in the drain. If the splash guard isn't removable, scrub the top, outward-facing side with your brush and soapy water, then rinse with clean water. Next, lift each flap and clean the undersides one by one.


Evaluation :
5/5