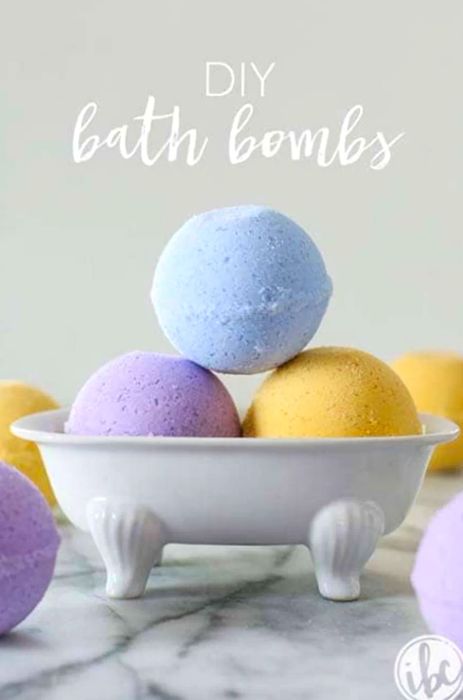
Homemade Bath Bombs
While I don’t indulge nearly as much as I should, one of my favorite ways to unwind after a hectic week (or even just a tiring day) is to pour myself a glass of wine, light some candles, and sink into a warm bath. To elevate the experience, I love adding a bath bomb to the water. The fizzing bubbles, aromatic essential oils, and nourishing minerals create a delightful sensory escape.
Today, I’m excited to guide you through the process of making your very own custom DIY bath bombs right at home. If you’re anything like me, having these on hand will inspire you to relax a little more often.
This year, I’ve partnered with Dinogo to share a range of tips and ideas inspired by my experiences on their ships. We’ve explored cocktails, DIY travel essentials, a handcrafted serving tray, and much more. Now, taking inspiration from their Cloud 9 Spa, we’re going to dive into the relaxing side of things.
While I adore an adventurous getaway packed with activities and sightseeing, I also cherish a day dedicated to indulgence. Be it a massage, a facial, or simply relaxing in the thermal suite at the Cloud 9 Spa, I wholeheartedly believe in the power of relaxation.
To bring a bit of that tranquility home and craft a spa-like atmosphere whenever I wanted, I decided to create my own DIY bath bombs.
If the thought of making these bath bombs seems daunting, don’t worry. They’re incredibly easy to whip up and wonderfully customizable. Let me guide you through it.
First, gather all your ingredients. I sourced everything online and included links below for your convenience.
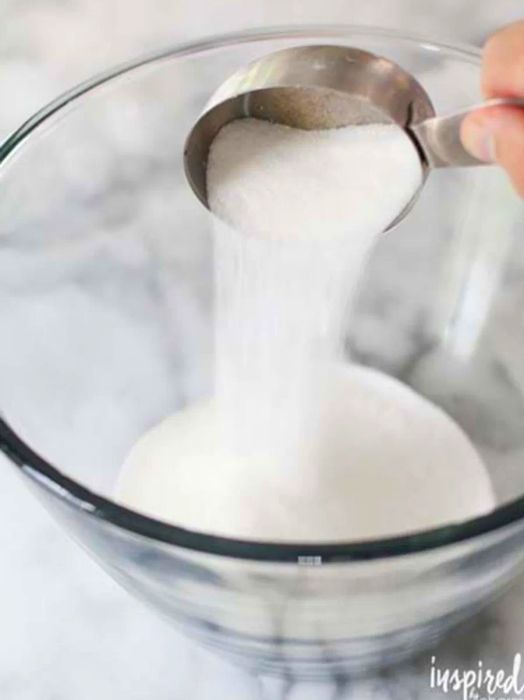
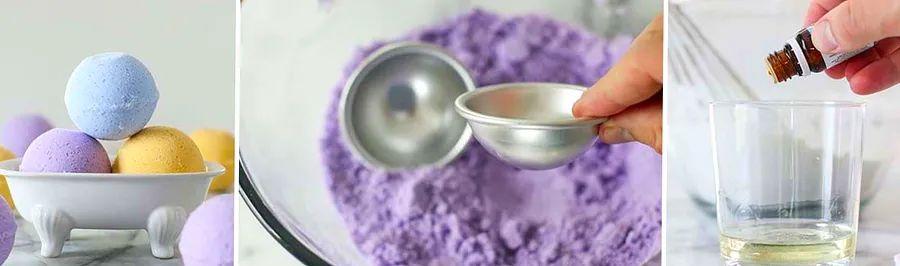
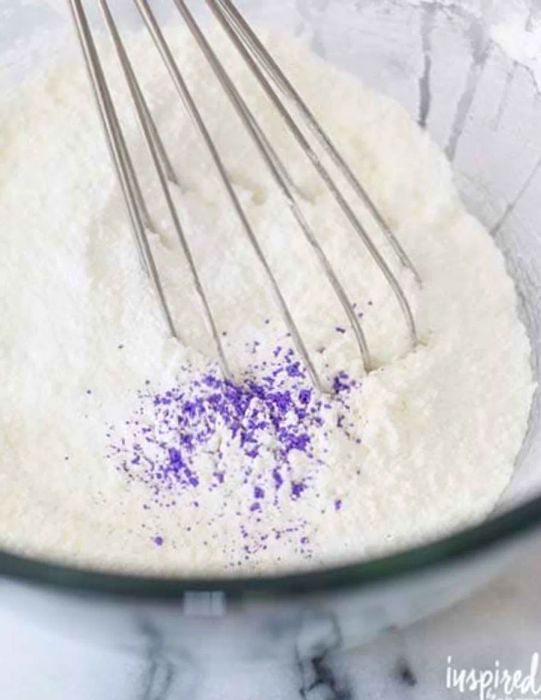
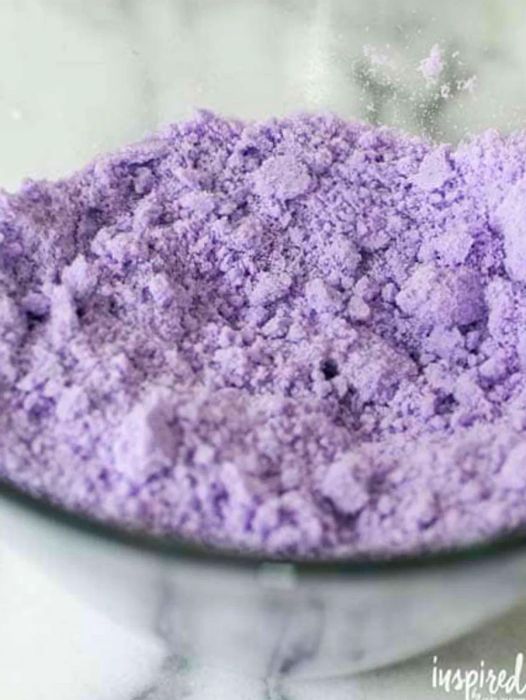
Start by measuring and whisking your dry ingredients together in a large bowl. I used a dry coloring pigment for my bath bombs, so be sure to incorporate that during this step. Feel free to add as little or as much as you like to achieve your desired color.

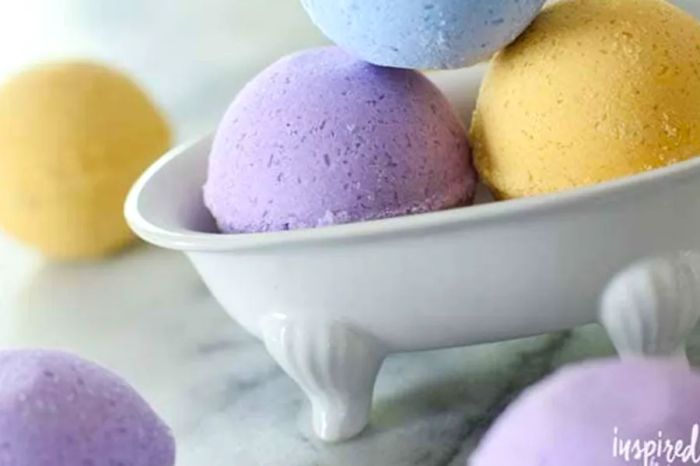
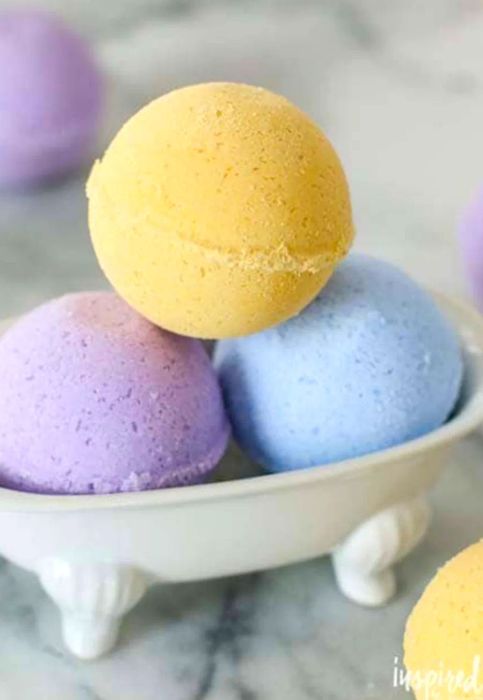
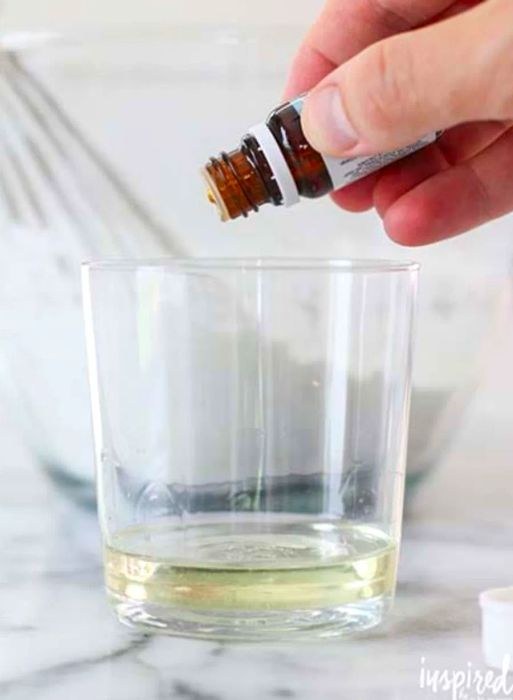
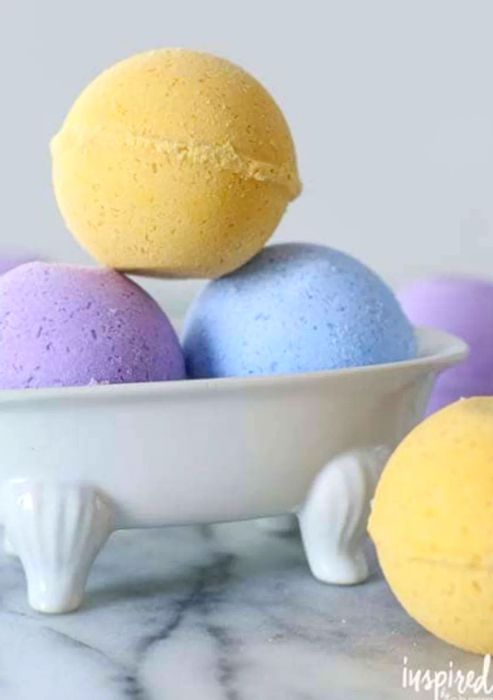
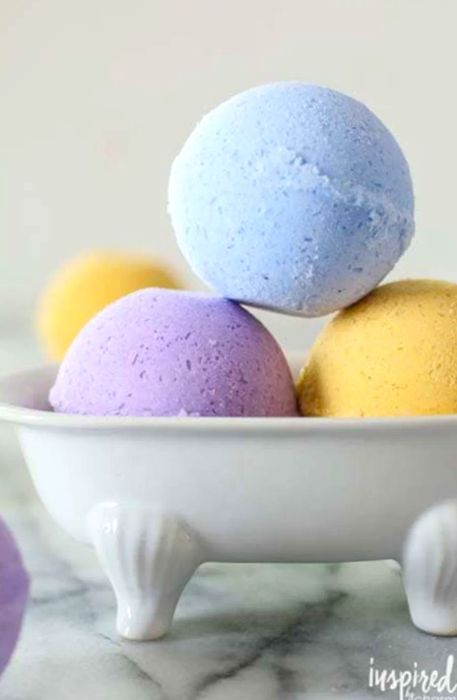
Next, in a small bowl, combine the wet ingredients. This is also where you'll incorporate the essential oils. You can find essential oils almost anywhere these days. I recommend shopping in person so you can choose a scent that appeals to you. Additionally, be mindful of the benefits each oil provides. I made three different types: the purple bath bomb includes an oil for stress relief, the blue one promotes sleep, and the yellow enhances joy.
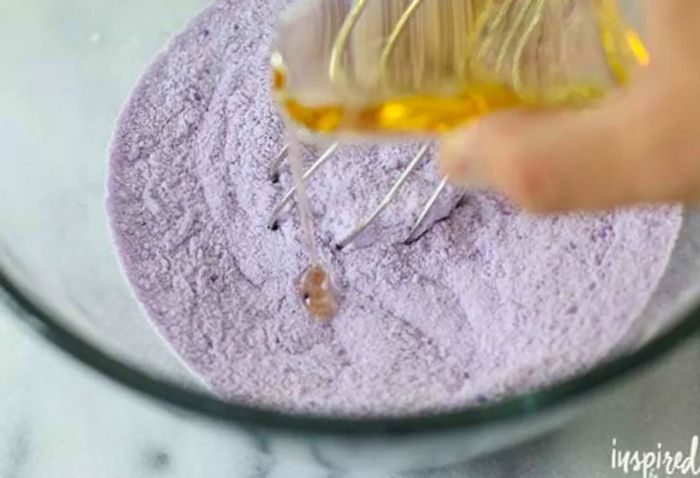
The next step is crucial. Gradually add the wet ingredients to the dry mixture. Make sure to do this slowly, adding small drops at a time while mixing. The citric acid is responsible for the fizzing action when the bath bombs meet water. By adding the wet ingredients slowly, you reduce this effect, allowing you to form the balls more easily.
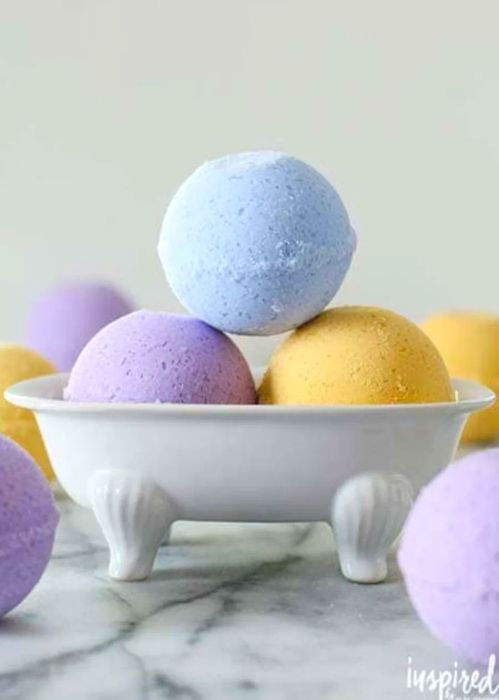
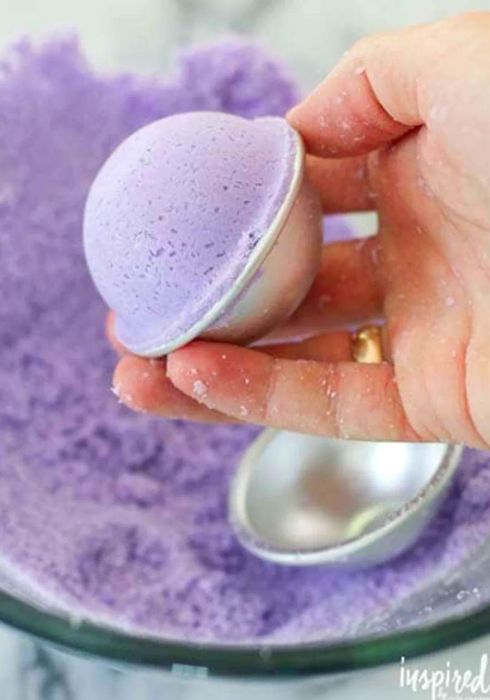
Once everything is mixed, it’s time to mold your bath bombs. I bought these bath bomb molds to shape them into spheres. However, you can also use a cupcake pan or silicone molds to create various shapes and sizes.
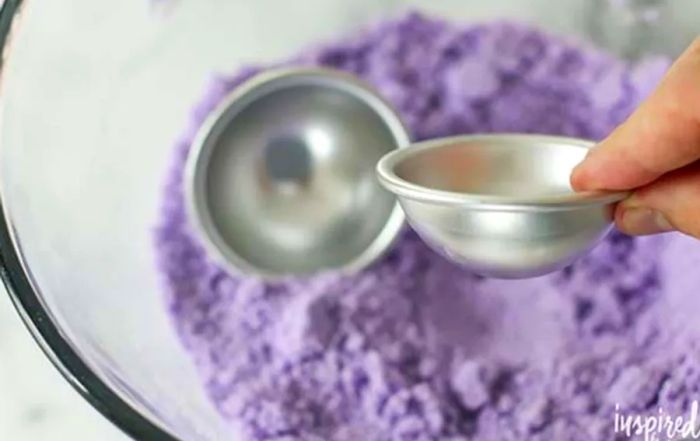
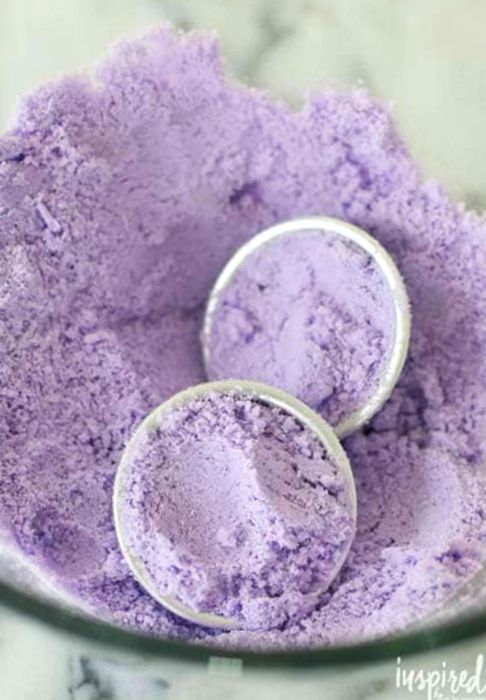
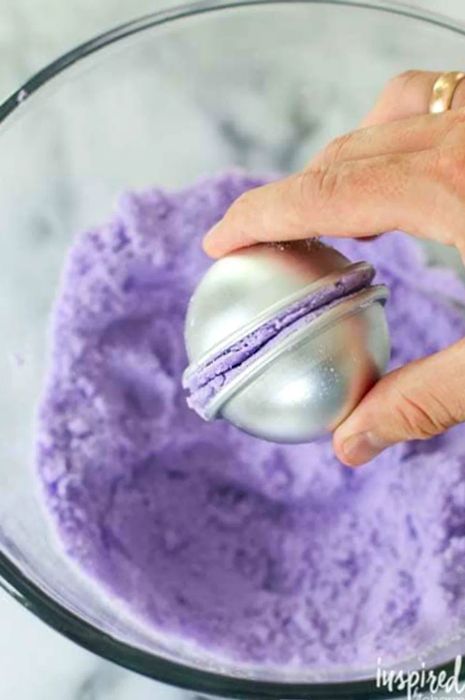
For this round mold, fill each half generously, pressing the mixture in slightly until it overflows. Then, firmly squeeze the halves together and let the mold rest for a minute. Once set, gently tap the mold and carefully separate it.
Allow the bath bombs to dry for at least 24 hours before transforming your tub into a mini spa retreat.
It’s that simple!
DIY Bath Bombs
Makes 4
Here’s what you’ll need:
- 1 cup of baking soda
- 1/2 cup of citric acid
- 1/2 cup of Epsom salt
- 1/2 cup of cornstarch
- Coloring pigment, optional
- 2 1/2 tablespoons of almond oil (or melted coconut oil)
- 3/4 tablespoon of water
- 12-15 drops of essential oil
- Bath bomb molds
In a medium-sized bowl, combine all the dry ingredients. Add as much or as little color pigment as you prefer to achieve your desired appearance. Whisk thoroughly to blend.
In a separate small bowl, combine the wet ingredients.
Gradually incorporate the wet ingredients into the dry mixture. (This step is crucial; if done too quickly, you may activate the citric acid, which creates the fizzing effect.) Stir until everything is well combined and resembles damp sand.
Pack the mixture into each half of the mold, filling them until they overflow slightly. Firmly press the halves together. Allow the mold to sit for a minute. Gently tap the mold and carefully separate it to extract the bath bomb. Let the bath bombs dry for 24 hours before indulging in your tub.
If you haven’t yet experienced the joy of a bath bomb, I highly encourage you to give it a go.
What I truly enjoy about crafting these at home is the ability to tailor the oils and colors to enhance your experience. Whether you seek relaxation, improved sleep, or inspiration, simply adjusting a few elements can help create the mood you desire.
These bath bombs also make an excellent gift. Bundle a few with a bottle of wine and some candles for the perfect indulgence.
As always, for more information about Dinogo or details regarding their Cloud 9 Spa, visit their website.


Evaluation :
5/5